Posted on 2 Comments

Ready to do more scrapping?

Believe it or not Get It Scrapped is frantically scrapbooking again!  In the midst of a busy month for many of us with school nearing a close and weather getting warmer we are challenging each other to create a page a day in May!  Now I know I am not completing a page each day in May BUT I am going to attempt to create 31 pages in May we will see how it goes.  I have 3 completed so far and can share 1, the other 2 are for assignments.

blog 2


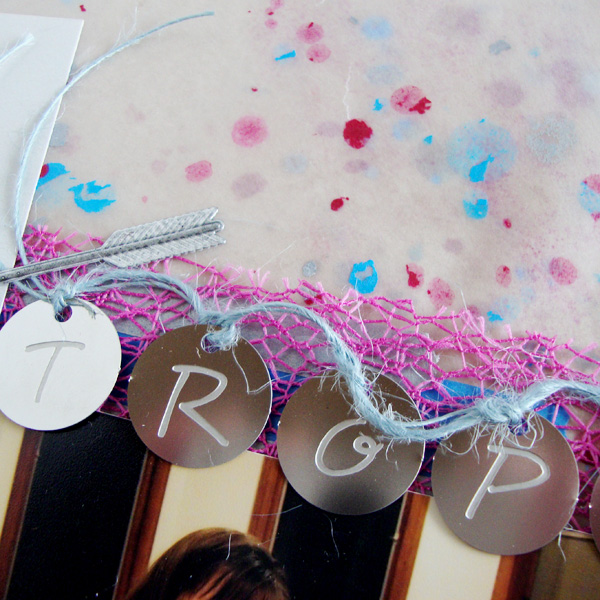
Success | supplies: patterned papers and tissue SEI, cardstock; Kraft from Oriental Trading, acrylic letters; Heidi Swapp, ink; Copic and Zig, lace and turtles unknown

I found these little metal turtles at the Creating Keepsakes Convention this past fall and they jumped into my shopping bag, I knew exactly what photos needed them!  Originally they were silver but when I added the copper colored thread to the page I felt the turtles looked better in copper as well so I used my Copic markers to ink them up and match them to the page.

blog 1

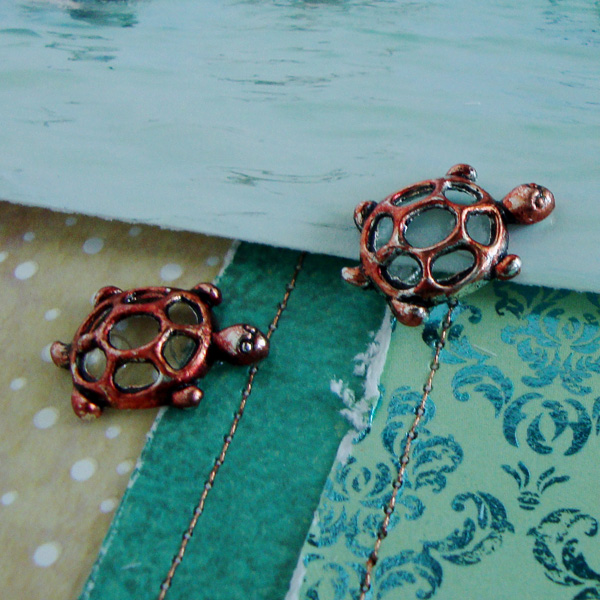
Looking back at these photos it is hard to believe that just last summer we were following sea turtles throughout the ocean.  It was AMAZING!

We have busy days ahead at the Houghton household but my goal is to check in here once a week still with tutorials and articles as well as the scrapping I am doing for one a day in May!

Have a happy Wednesday!

Posted on 3 Comments

RubberMoon and Copic Background

Hello RubberMoon fans!  Welcome to my blog!  As promised I have a second tutorial using Gretchen Ehrsam’s  Striped Cat  I created another card but this time wanted a completely different look to show you the versatility of one stamp and a fun different technique with Copic Various Inks (the refills).  The supplies I used are:

Striped Cat stamp by Gretchen Ehrsam, a white Sharpie paint pen, Copic Various ink in V04, V17 and RV66, a 2″ Art Square, and StazOn opaque white ink.

RMb1

Step #1 – Drip Copic Ink directly onto the art square.  The colors will bleed quite a bit so you will only need 3 or 4 drops of 3 colors.

RMb2

RMb3

Step #2 – After the ink is completely dry, use StazOn opaque white ink to stamp your image onto your square.

RMb4

Step #3 – Use an opaque white pen to add doodles onto your square, my FAVORITE white marker is a Sharpie poster paint pen.

RMb5

Step #4 – Add your square onto your card base, I used a wine colored card stock and white Swiss Dot Cardstock from Bazzill and a small piece of Kraft card stock, I added pearls and more doodling with my Sharpie.

RMb6

Thank you so much for stopping by today to take a peek at my RubberMoon creation.  Make sure to stop by the RubberMoon blog as well if you have not had a chance to this week!  Nancy posted an amazing inky tutorial there Monday!

Happy Wednesday!


Posted on

Pintrest Inspiration

Monday at Get It Scrapped I shared how I was inspired by a specific Pintrest board, a collection of woodland animal pins.  Woodland animals are quite the hot item right now in the crafting world.  Check out the article HERE to see what I pulled from the Pintrest board and the layout I created!  Here is a peek:

blog woodland motif


Gotta love a fox these days :-).

Happy Tuesday!

Posted on

Papercrafter Crayons

Have you seen Faber Castell’s Papercrafter Crayons?  They are a newer product and have not made a huge splash, but I have to tell you these things do some cool effects.  This month at Get It Scrapped I explored how to use them with heat and different melting techniques.  You can check out all the how to’s HERE

Here is a close up of one of the effects I played with:

blog crafter crayon

It just gives you one more option for adding hand colored effects onto your layouts, cards and more.

Happy Monday!

Posted on

Stamping with Copic

My first tutorial posted over at RubberMoon today!  It is a quick fun technique using Copics and stamps, but not the way you normally would 🙂

Check it out HERE

RM6Hope you have time to check it out!

Happy Friday!