Happy Thanksgiving! I am so thankful to have been able to share my passion for art, creating and teaching all of you for the past many years. As a small thank you I am putting my 2 online classes on sale for the weekend.
You can get 10% off both the Copic 101 class and the Copic Clothing Class using the coupon code THANKFUL2022.
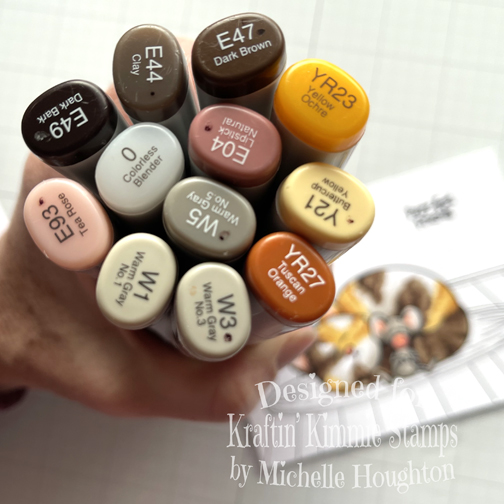
Copic 101 is all your need to know Copic information. It is the class to start you on your Copic journey, included in class:
- images to print and copy as often as you want for practicing
- PDF files of step-outs, note taking and all the facts
- 4+ hours of video instruction
- one on one help when needed
Topics Covered:
- Number system and why you need to know it
- Blending
- Flicking
- Choosing colors
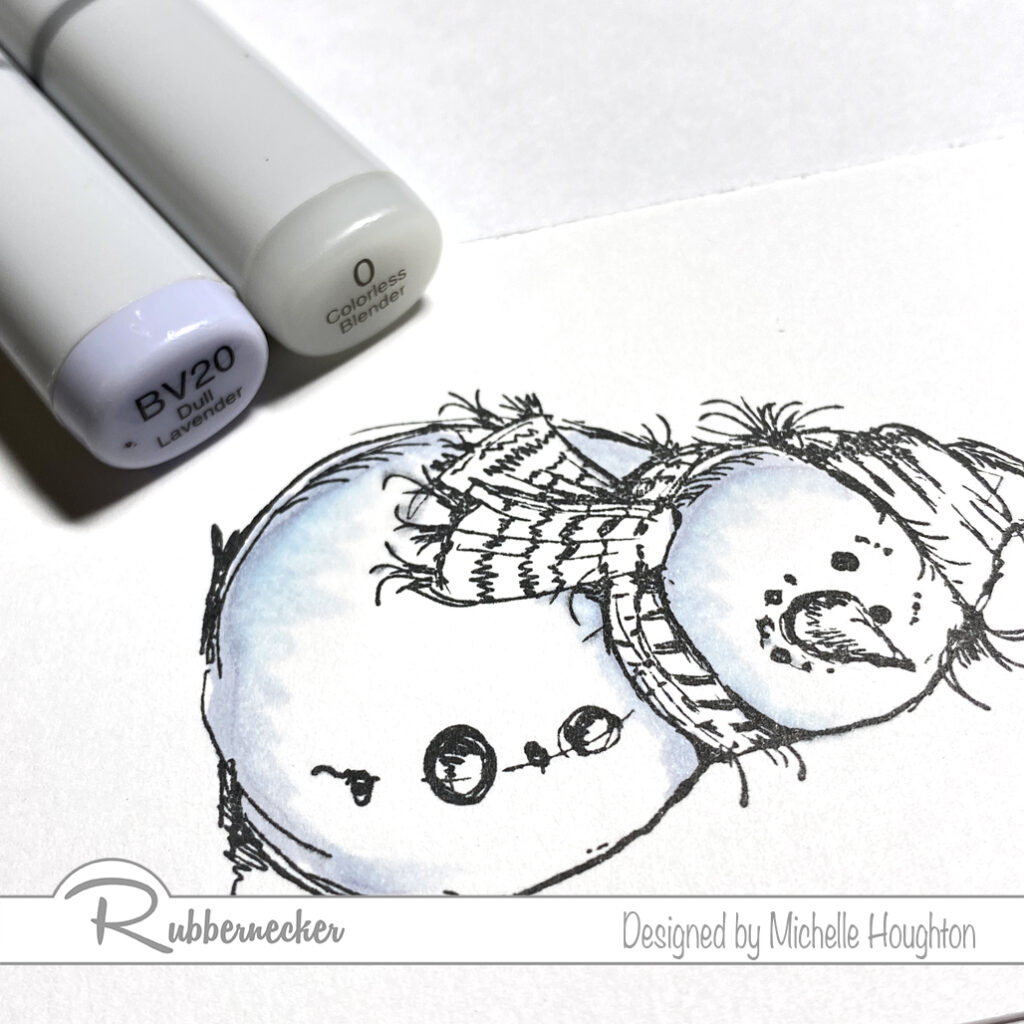
- Colorless Blender
- Marker maintenance
Here is a link to all the details and registration – Don’t forget to add the coupon code THANKFUL2022
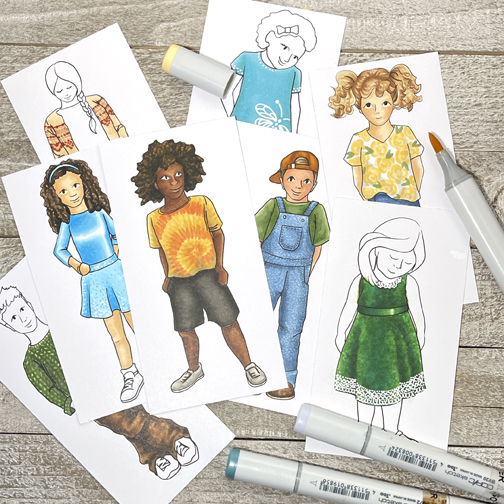
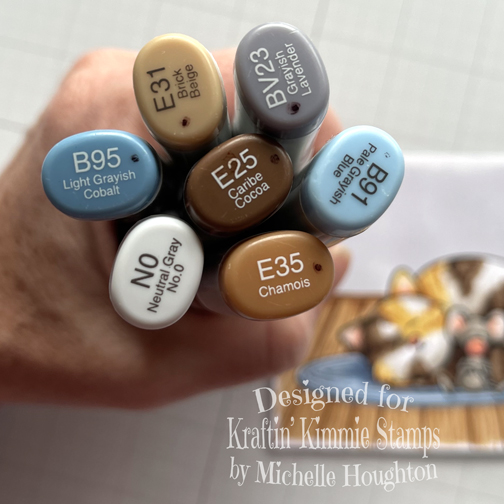
The Copic Clothing class focuses in on just that CLOTHING! Texture, pattern, shine, you name it we delve deeply into clothing. Included in class:
- 13 Digital images to use in class, for practice, and on your own projects
- Full color manual in digital format with detailed written and photographic step outs, you can print or use online
- Hours of video instruction focusing on Copic clothing techniques, that you will be able to put into practice on your images
- Color combinations for plaids, florals, animal prints and more
Here is a link to all the details and registration – Don’t forget to add the coupon code THANKFUL2022
The classes are taught over at my Teachable classroom.
Hope to see you in class soon! Have a happy Colorful Day!