Posted on

Get It Scrapped: Unexpected Juxtapositions, Collage and Zentangle Techniques

I fell off the wagon again, but I have a really good excuse this time!  I have some big changes rumbling around in my world, all good ones and they are keeping me hop, hop, hopping!  So catching you up, I have traveled to both Indianapolis and Columbus, OH since last time I posted.  Copic classes are going well and I have another big trip all the way to Dallas coming up in a few weeks!  If you are in the area you need to check out the workshops HERE.  I would love to have you join me for coloring fun!

I have had three layouts post at Get It Scrapped and all ones that I love. Without a whole lot of explanation here they are with links to the wonderful articles that they are a part of.

Juxtoposition

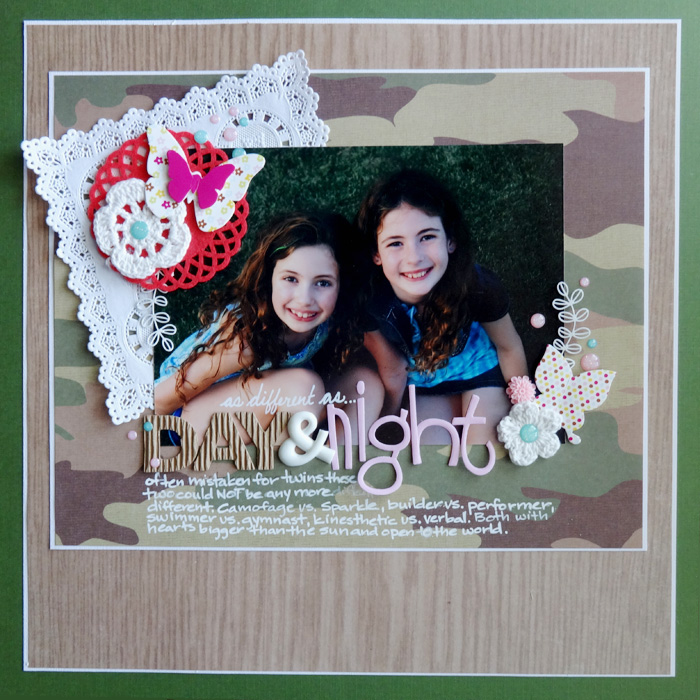
Day and Night by Michelle Houghton | supplies: cad stock; Colorbok, patterned paper; Recollections, crochet flowers; SEI, acrylic flower; Studio Calico, butterflies; American Crafts, felt and paper doily, ampersand, vine, glitter dots; Freckled Fawn, pink letters; Bella Blvd., corrugated letters; Pebbles, ink; Sharpie

Juxtoposition close

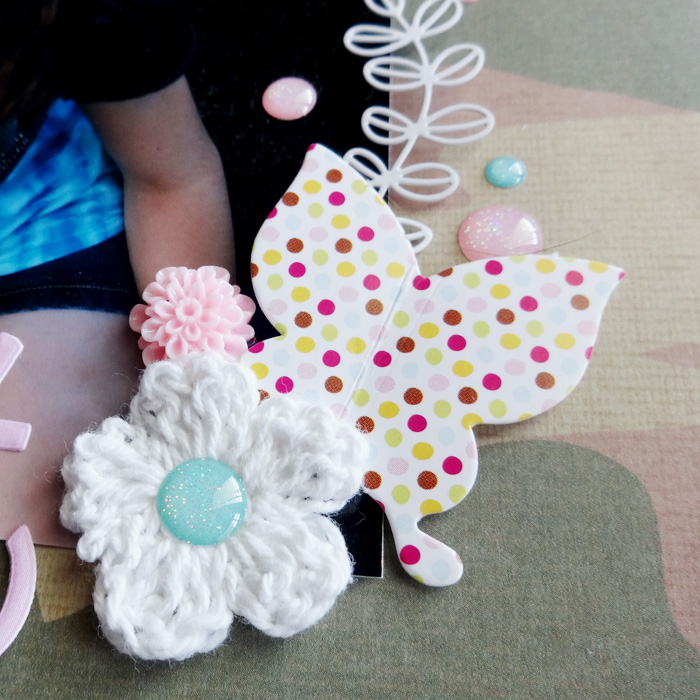
Pretty self explanatory, beautiful girls, but OH so different.  Anyone who knows them knows just how much, the real beauty lies within though.  These two have the biggest, most caring hearts that rome this world.  To see the article at GIS click HERE.

Next is collage and list making on pages:

Collage or List

30 days 30 photos by Michelle Houghton | Supplies: cardstock; Kraft, letters; American Crafts and Basic Grey, cork; Freckled Fawn, buttons: unknown, Washi tape; My Minds Eye

blog 4

blog 1

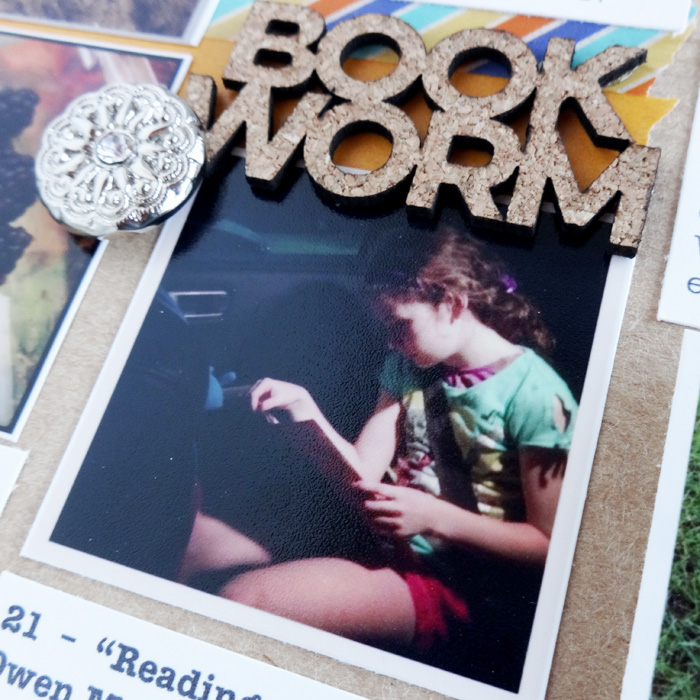
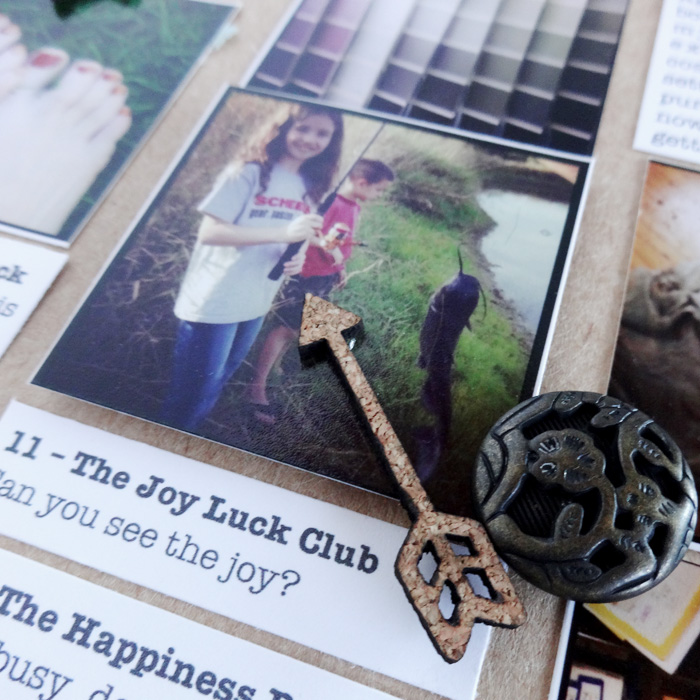
The hardest part of this layout was fitting it all in.  There was a lot of resizing, citing and moving about the pages.  Check out the other layouts and inspiration HERE

Lastly is a layout including doodling!  Yay!  I love doodling as most of you know so if offered the job of adding it to a layout purposefully for an assignment I jumped at the chance.

Zentangle

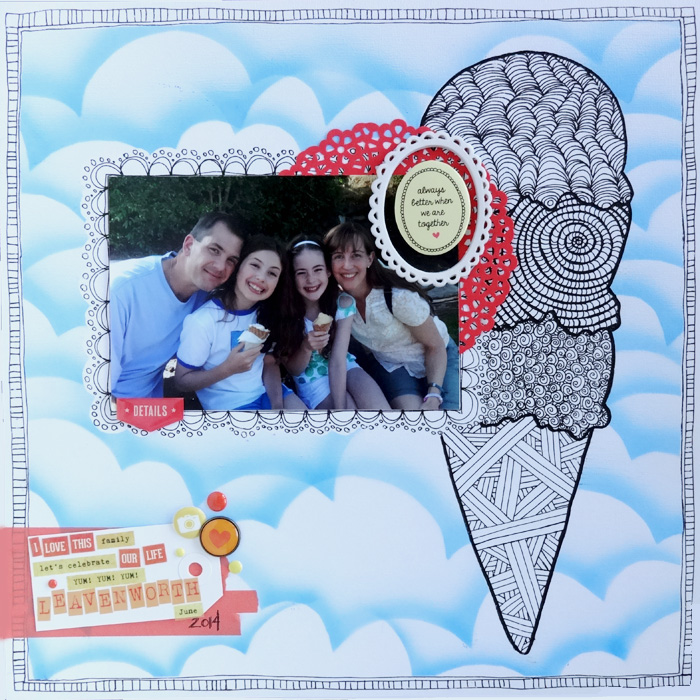
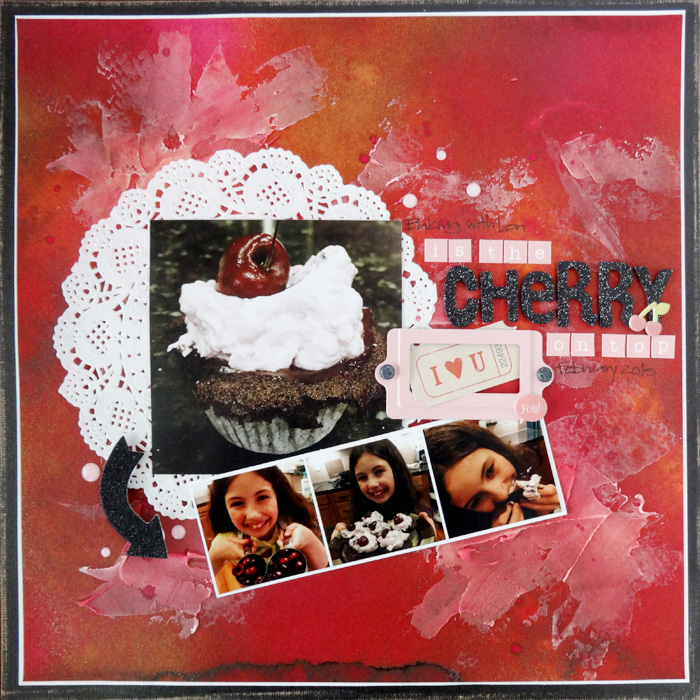
Always Better by Michelle Houghton | Supplies: cardstock; Colorbok, doily; SEI, sticker letters, words, flair scallop frame, puffy sticker, brad and Washi tape; Freckled Fawn, sticker words and acrylic dots; My Mind’s Eye, ink; Sharpie, airbrush and ink; Copic

blog 2

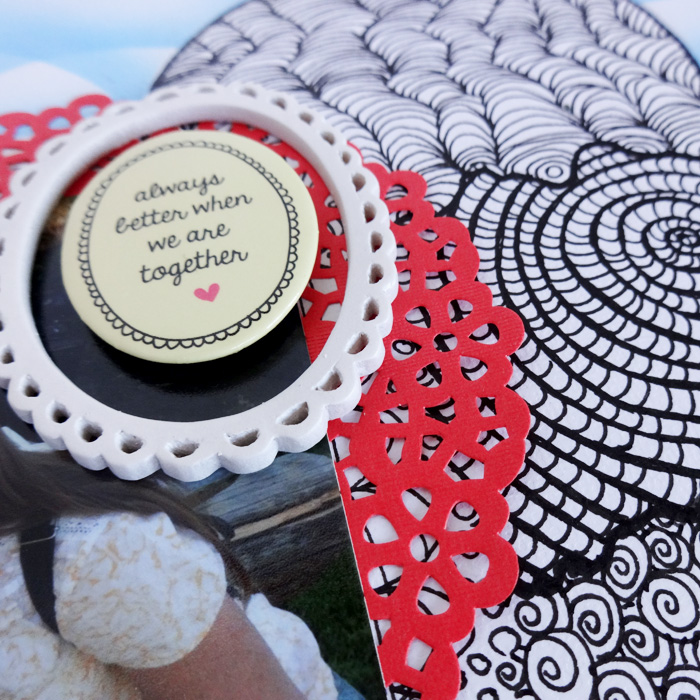
I did all of the doodling first and then masked off areas and airbrushed the background. My Copic ABS airbrush allowed me to quickly add color and pattern right on the same page that I had spent hours adding the detailed doodling.  Check out the other scrapbooker’s layouts for more great inspiration HERE.

Posted on

Artsy Scrapbooking

This past week I had a page as part of an article on Artsy Storytelling in Scrapbooking.  The idea originates from Debbie Hodge’s “Story Styles Lookbook”. The Artsy Storyteller uses artistic techniques on their page to help tell the story.  Here is my Artsy page:

Art

The Cherry On Top by Michelle Houghton | Supplies: cardstock; Colorbok and Core’dinations, watercolor paper; Strathmore, spray ink; Dylusions and Adanorak, modeling paste; Golden, acrylic dots, puffy stickers and chipboard arrow; Freckled Fawn, sticker letters; My Mind’s Eye, chipboard letters; American Crafts, doily; Bo Bunny, ink; Copic and Sharpie, book plate, ticket and brads; unknown.

There is a lot going on on that background so here are a couple closer looks:

This first shot is before adding any other elements.  I had JUST added the top layer of ink splatters over the still slightly damp modeling paste.

blog 1

Here is one angle of the finished layout, you can see two things changed as the media dried completely. More of the underlying ink base layer sealed into the modeling paste middle layer and darkened the middle layer. Also the splatters softened as they soaked in and dried.

blog 2

Here is another angle of the finished layout, The modeling paste did not get quite as dark here and you can barely see the splatters that hit the inky background, they ended up a little brighter then the base and with water mark rings.


blog 3

I love baking with this girl!  She is amazing in the kitchen and it blows me away as her Mom to watch her flourish here, I could not be any more proud of her.

Check out all the inspiration at Get It Scrapped HERE.

Happy creative days to you!

Posted on

Kitsch Layout

What is Kitsch you ask?  Well the design team at Get It Scrapped is adding it onto our layouts today over at the blog so you must check it out.  You will get the feel not only from the layouts created, but the, always wonderful, information written to support the work by Debbie Hodge.  Another place to gather inspiration of course is on-line.  Pinterest and Google will shed much light on the topic.  Here is the layout I created for the article:

Kitchki final

My Love by Michelle Houghton | Supplies: cardstock; Bazzil and Core’dination, patterned paper; Crate Paper, washi tape; Little B and Lawn Fawn, letters; October Afternoon and American Crafts, ink; Sharpie.

kitchki blog

Here is a close up of some of my Kitsch.  I used some Valentine postcards from an old Houghton family collection.  My Mother-in-law set them aside just for me and hoped I would find something to do with them.  I am thrilled to say that I did and that I love the results.

A couple notes the cards are BUSY so I tried to keep the other elements and colors calming and right in sink.  The papers and title work matches colors already found int he cards.  The Washi tape is used in very small amounts to pull the viewers eye, and also ended up becoming a background in the case of the woven tape behind the photo and cupid.  It softened the space between the elements that as the plane Kraft paper had been quite harsh and created a heavy dead space.

The inspiration over at Get It Scrapped is really lovely and so creative.  Definitely worth a click and read!

Happy creating!

Posted on

Flat Geometry

I had a great time playing with my latest challenge over at Get It Scrapped.  A group of us each created a page with an image made out of “flat geometry”, a current trend in design.  Basically we are trying to show dementia and form with two dimensional geometric shapes.  I decided to add a rocket using flat geometry to my layout that was leftover from sprig break of 2013.  I am back tracking and trying to fill in some gaps in my scrapbooks and maybe get a little caught up even.  It is a lofty goal even if it remains just a goal.  Here is a close up of the rocket:

blog flat geometry

I colored strips of paper using Copic markers so that I could get a nice value range in my blue hue, then I cut them all into triangles and quadrilaterals, leaving them in little piles of similar color.  I sketched out a rocket shape on a scratch piece of cardstock and cut it out then glues all my little pieces onto the rocket base, filling it in.  I tried to use value cues to show the cylinder shape of the rocket body, and the cone of the nose.  You can see the flames that I created on the full layout below:

flat geometry


Blast Off by Michelle Houghton | Supplies: cardstock; American Crafts, patterned paper; Pink Paislee, Heidi Swapp and SEI, letters; Pebbles, ink; Zig and Copic

I had set all the papers aside with photos a while back so I had supplies I was hoping to use already to go.  The rocket was the perfect piece to tie it all to gather with a wonderful unique handmade touch!

Check out all the flat geometry looks HERE

Happy scrapping!

Posted on 1 Comment

Merry Christmas!

Wishing all of you a VERY MERRY CHRISTMAS!  From a very sunny Arizona!

FullSizeRender

Just this week I had a very special layout post over at Gt It Scrapped.  We were sharing layouts about our holiday mentors.  I chose my mom as my mentor, she is the one who showed me how to celebrate the holidays fro certain!

Holiday Mentor

Traditions of Joy by Michelle Houghton | Supplies: papers and diets; SEI, sticker letters; My Mind’s Eye, Pink Paisley and Basic Grey, ink; Ranger and Copic, brads; Doodle Bug Design, paper clip; Freckled Fawn, lace flower; Prima

blog holiday mentor

I have this wonderful small group of old photos from my Grandmother that every once and a while I delve into them.  This assignment seemed to scream for such a photo search.  I found this one of my Mom and I from MANY moons ago.  I love it and it is so wonderful to be able to do a special page to feature her!  I had this collection of papers from SEI that seemed to be made for the photo and figured out how to cut up one sheet to create several of the layers.  The brown dotted paper that is the large border around the blue bird paper and around the photo is actually the reverse side to the bird paper so you can imagine I was pushing some of the cuts quite close.

I have built up a just right pile of trims and embellishments these days so I ruffled through my stash and found all the do-dads to add the fun details.  You can see some more mentor layouts HERE

I just sent out a newsletter regarding all the first quarter Copic classes.  There are many workshops, standard and intermediate certifications now open for enrollment!  Check HERE for the current classes open!  I will send out another note to may subscribers as the second quarter starts registering!  If you would like to be on that mailing list sign up over in the right hand sidebar. Later this week you can get a sneaky peek of some of the images we will be coloring!  I also have a tutorial going over Copic marker cleaning over at Get It Scrapped that you might like to check out.  I will share a little more later this week as well.

Merry Christmas!