Posted on

Kirarina 2Win – Oil Based

Have you tried any of the Kirarina pens yet? I have had a chance to play with a few more of mine and test them out a bit on different surfaces and they are a lot of fun! Kirarina makes several different styles of pens and each is suited for different things. All are fun bright colors that make you want to reach for another to keep playing. I have been using the Kirarina 2Win for a while now in my planner, the highlighter plus coordinating writing end make them absolutely perfect for the job and I love having all m activities color coded 🙂

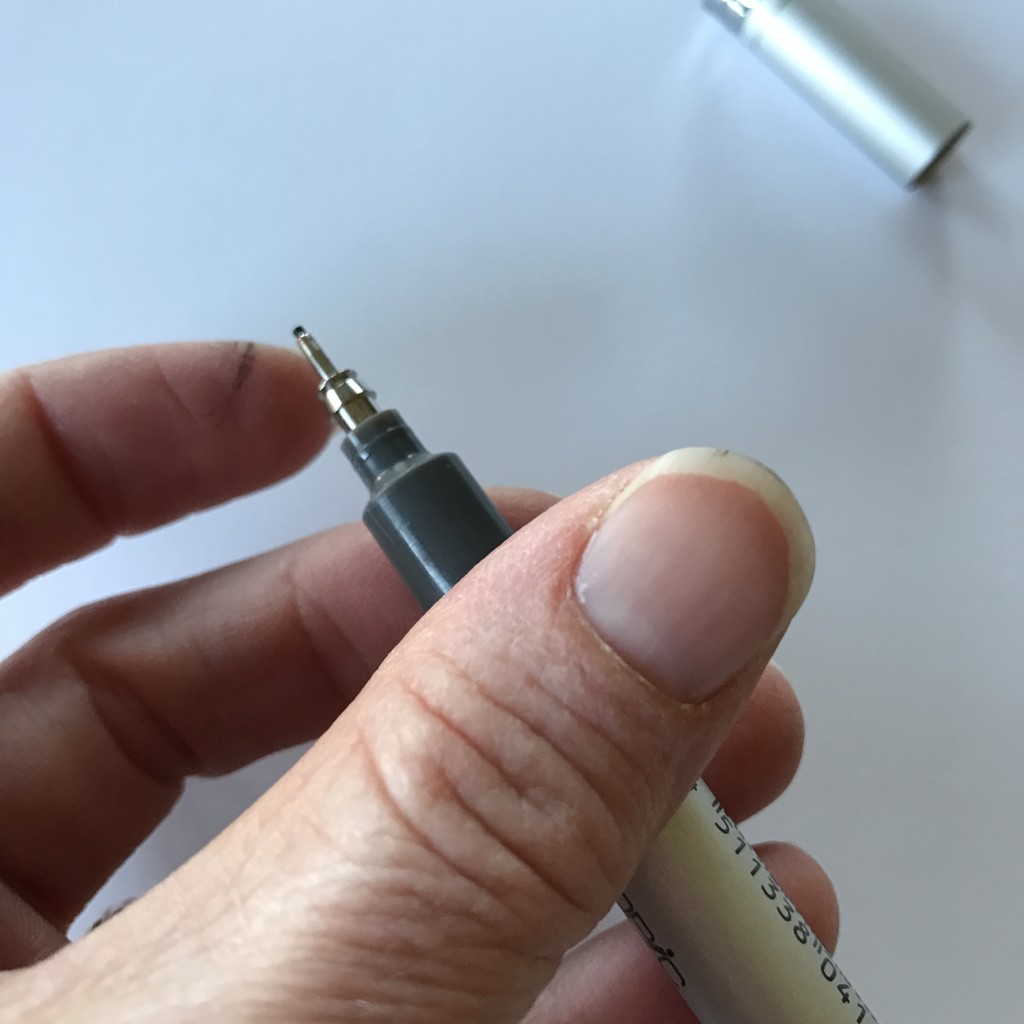
I am newer to the Kirarina 2win Oil based pens so I really wanted to start by experimenting with the pens to see what and where they would go! Like the 2Win these pens have 2 nibs that are slightly different in color, however unlike the 2 Win the Oil-Based 2Win’s nibs are both small bullet nibs, so no change in size or shape. The Oil-Based pens come in 34 colors (17 pens, each with two colors in them) and a black. The black pen has a bullet nib and a fine tip sketch nib for writing. 

Kirarina1

The benefit of the Kirarina 2Win Oil based is in the “oil-based” portion of the name. Because this pen is not water based like so many others it will go where others will not.

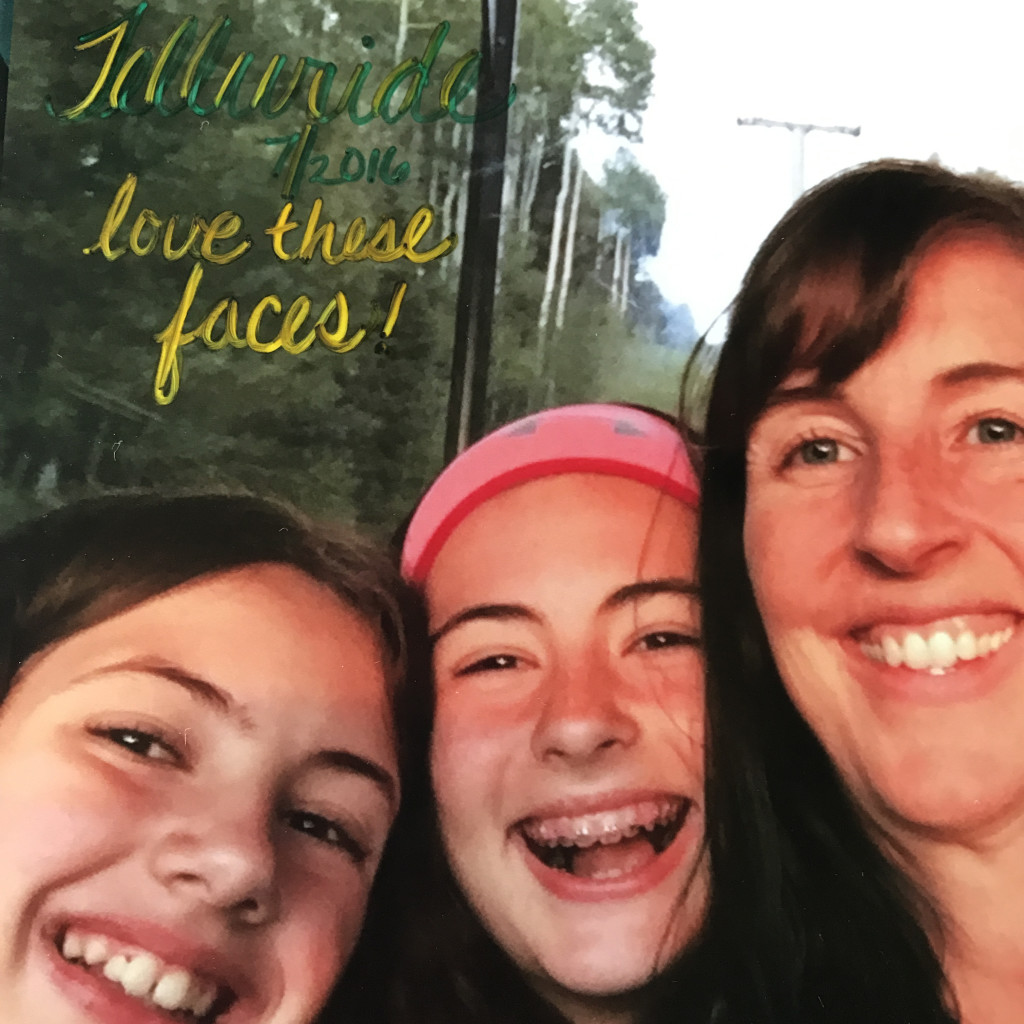
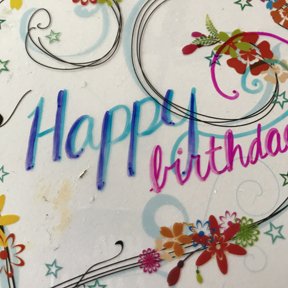
I tried writing on Photographs:

kirarina3

I also wrote on a very old acetate made for scrapbooking, this one was designed by Fancy pants and I just added the lettering in amongst the doodling that was already on the plastic sheet:

Kirarina4

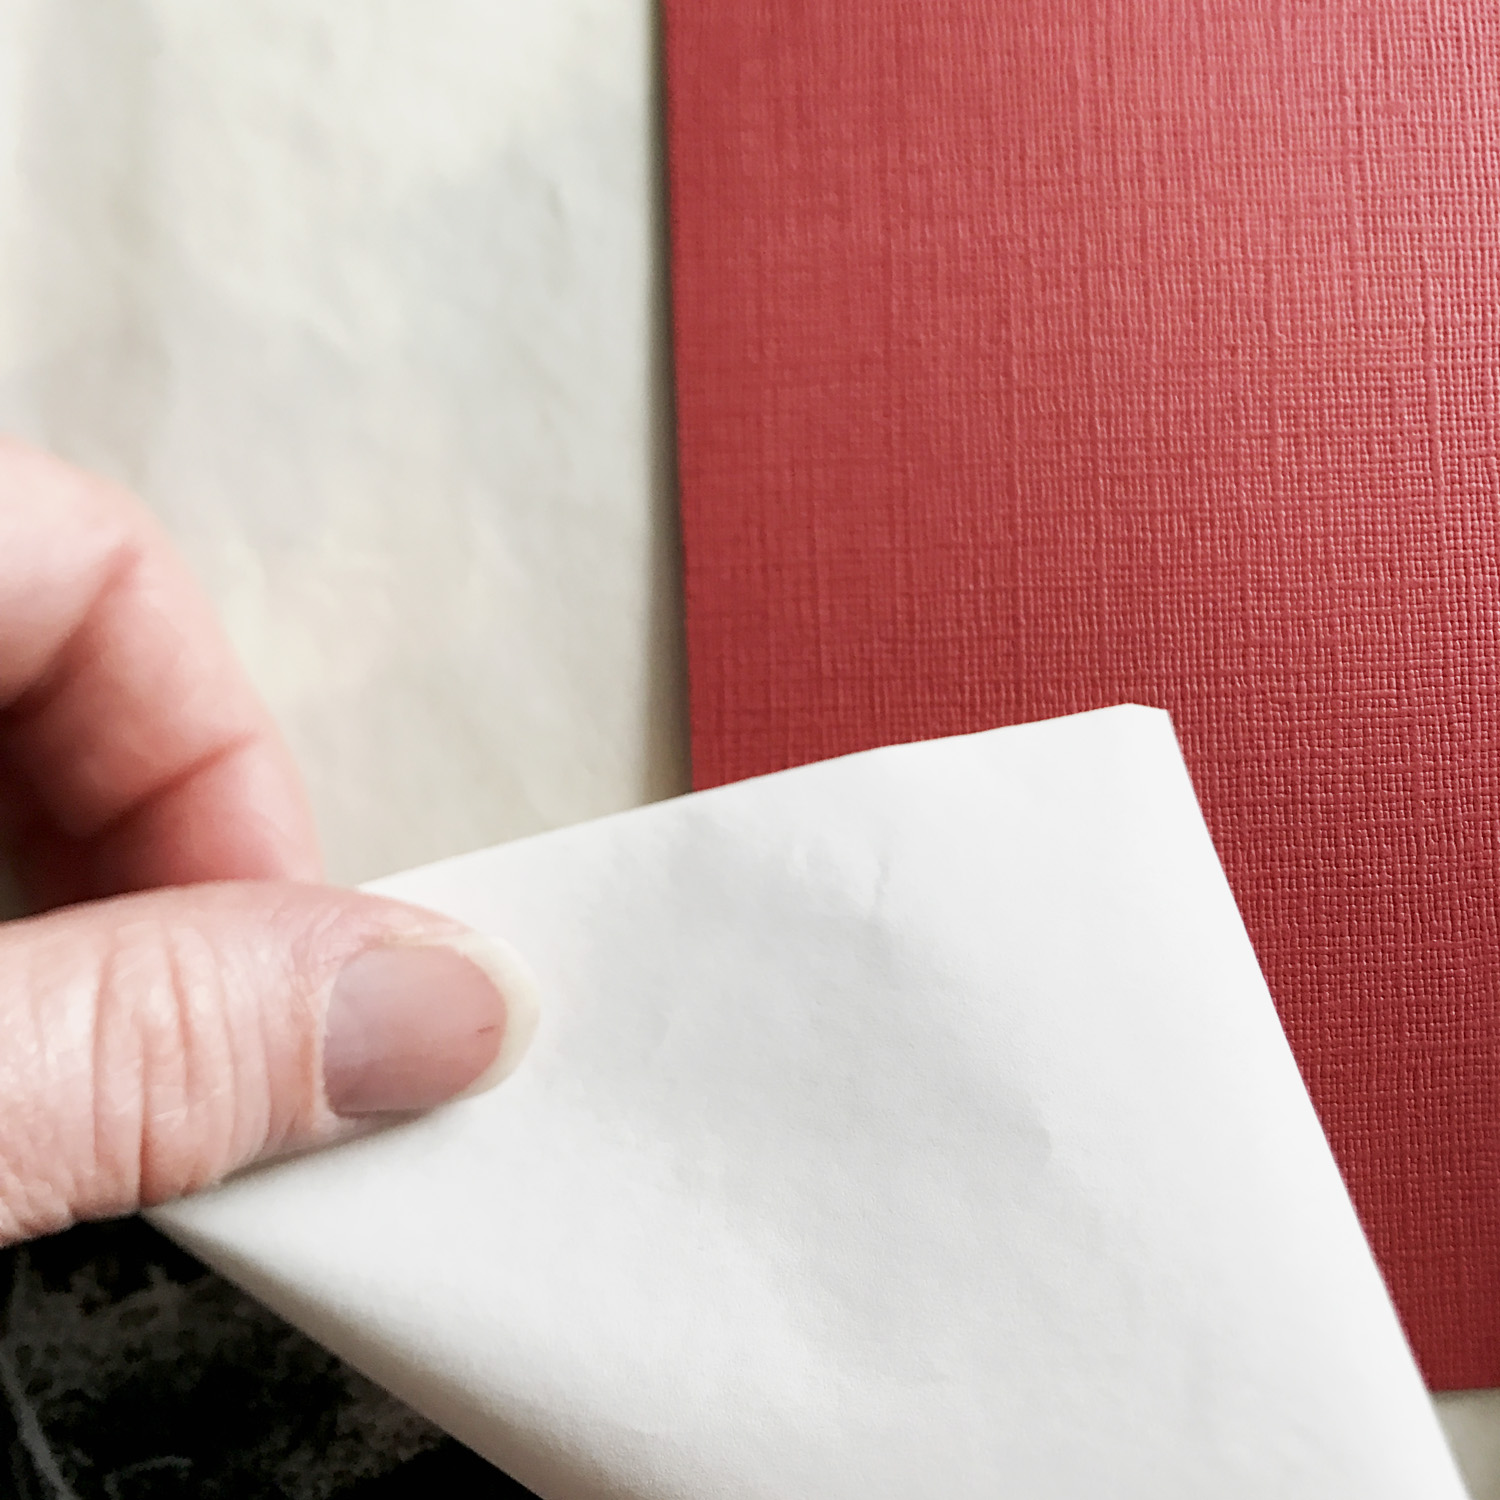
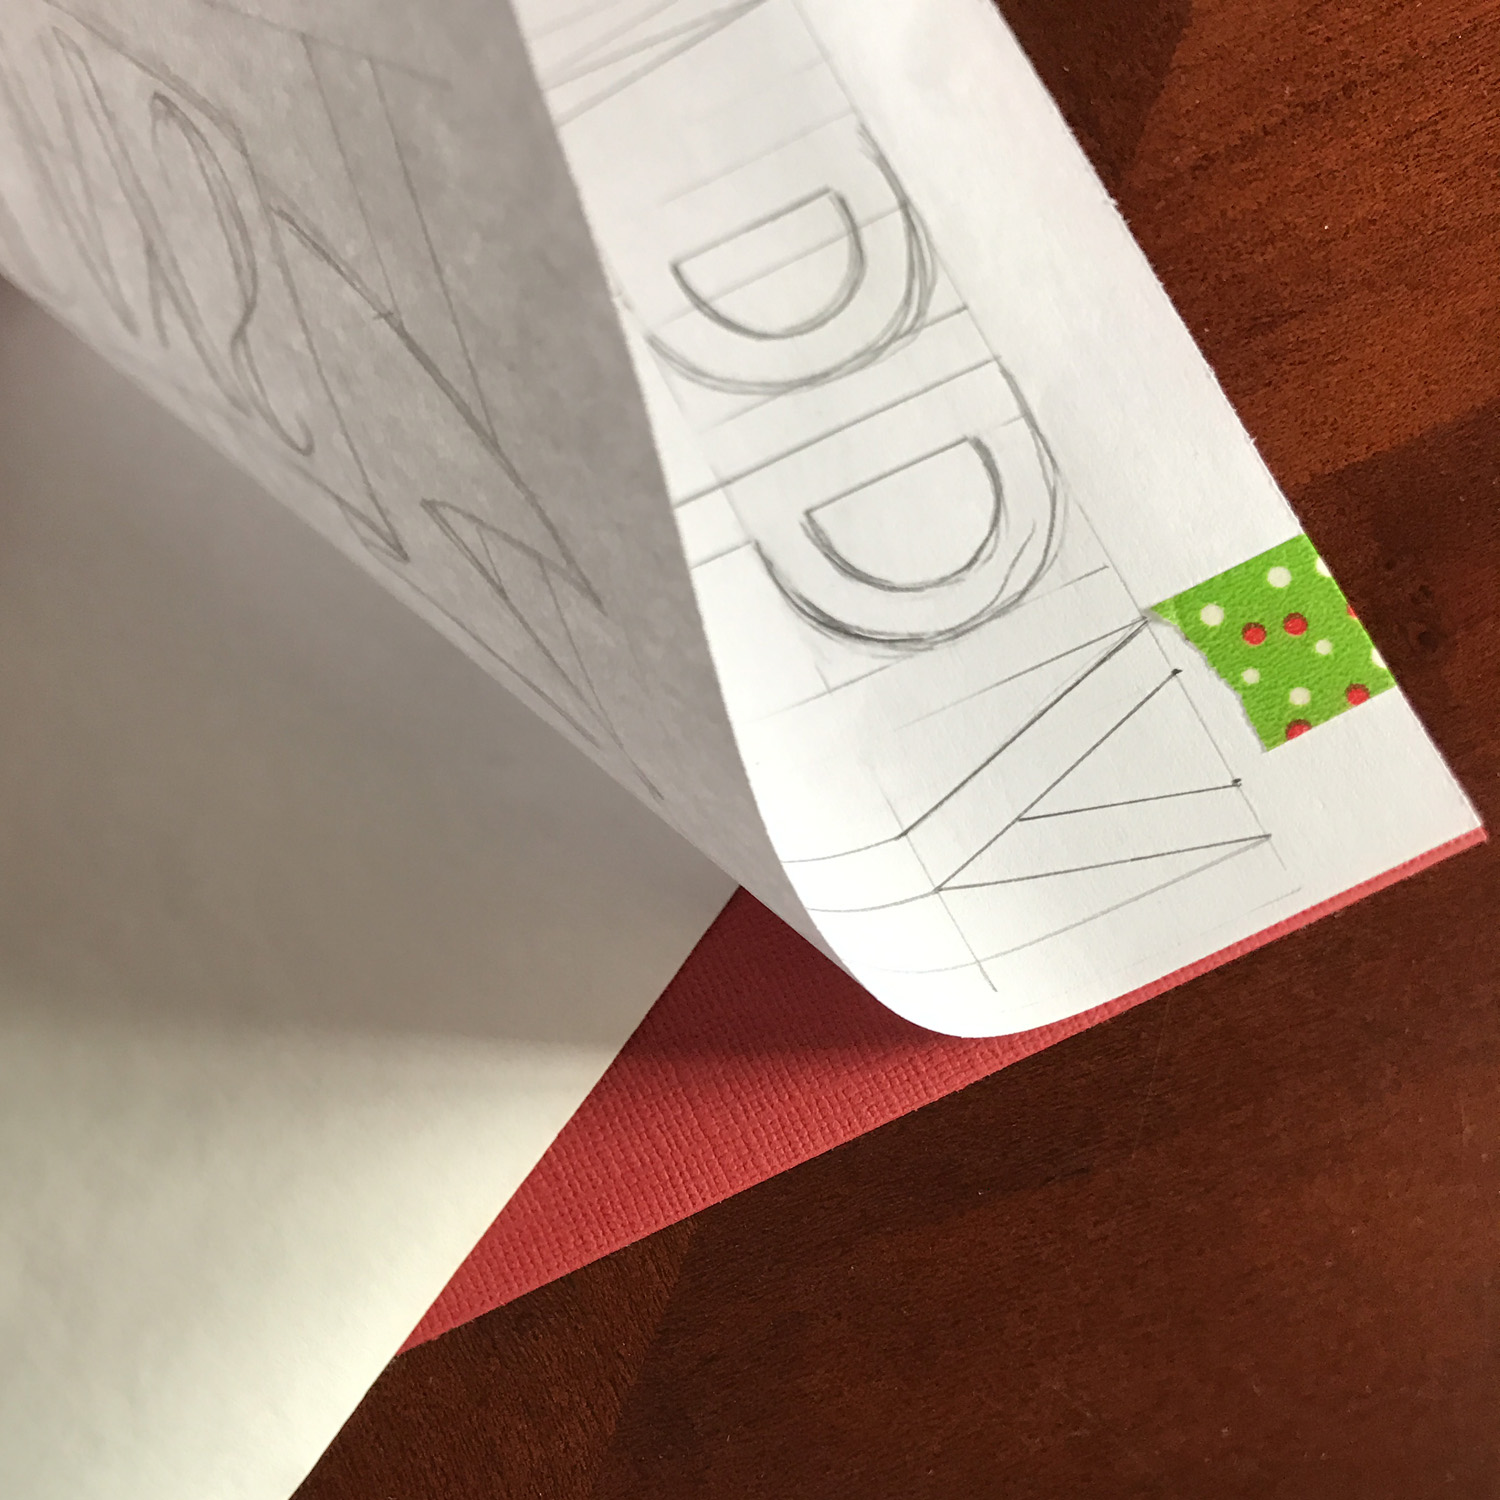
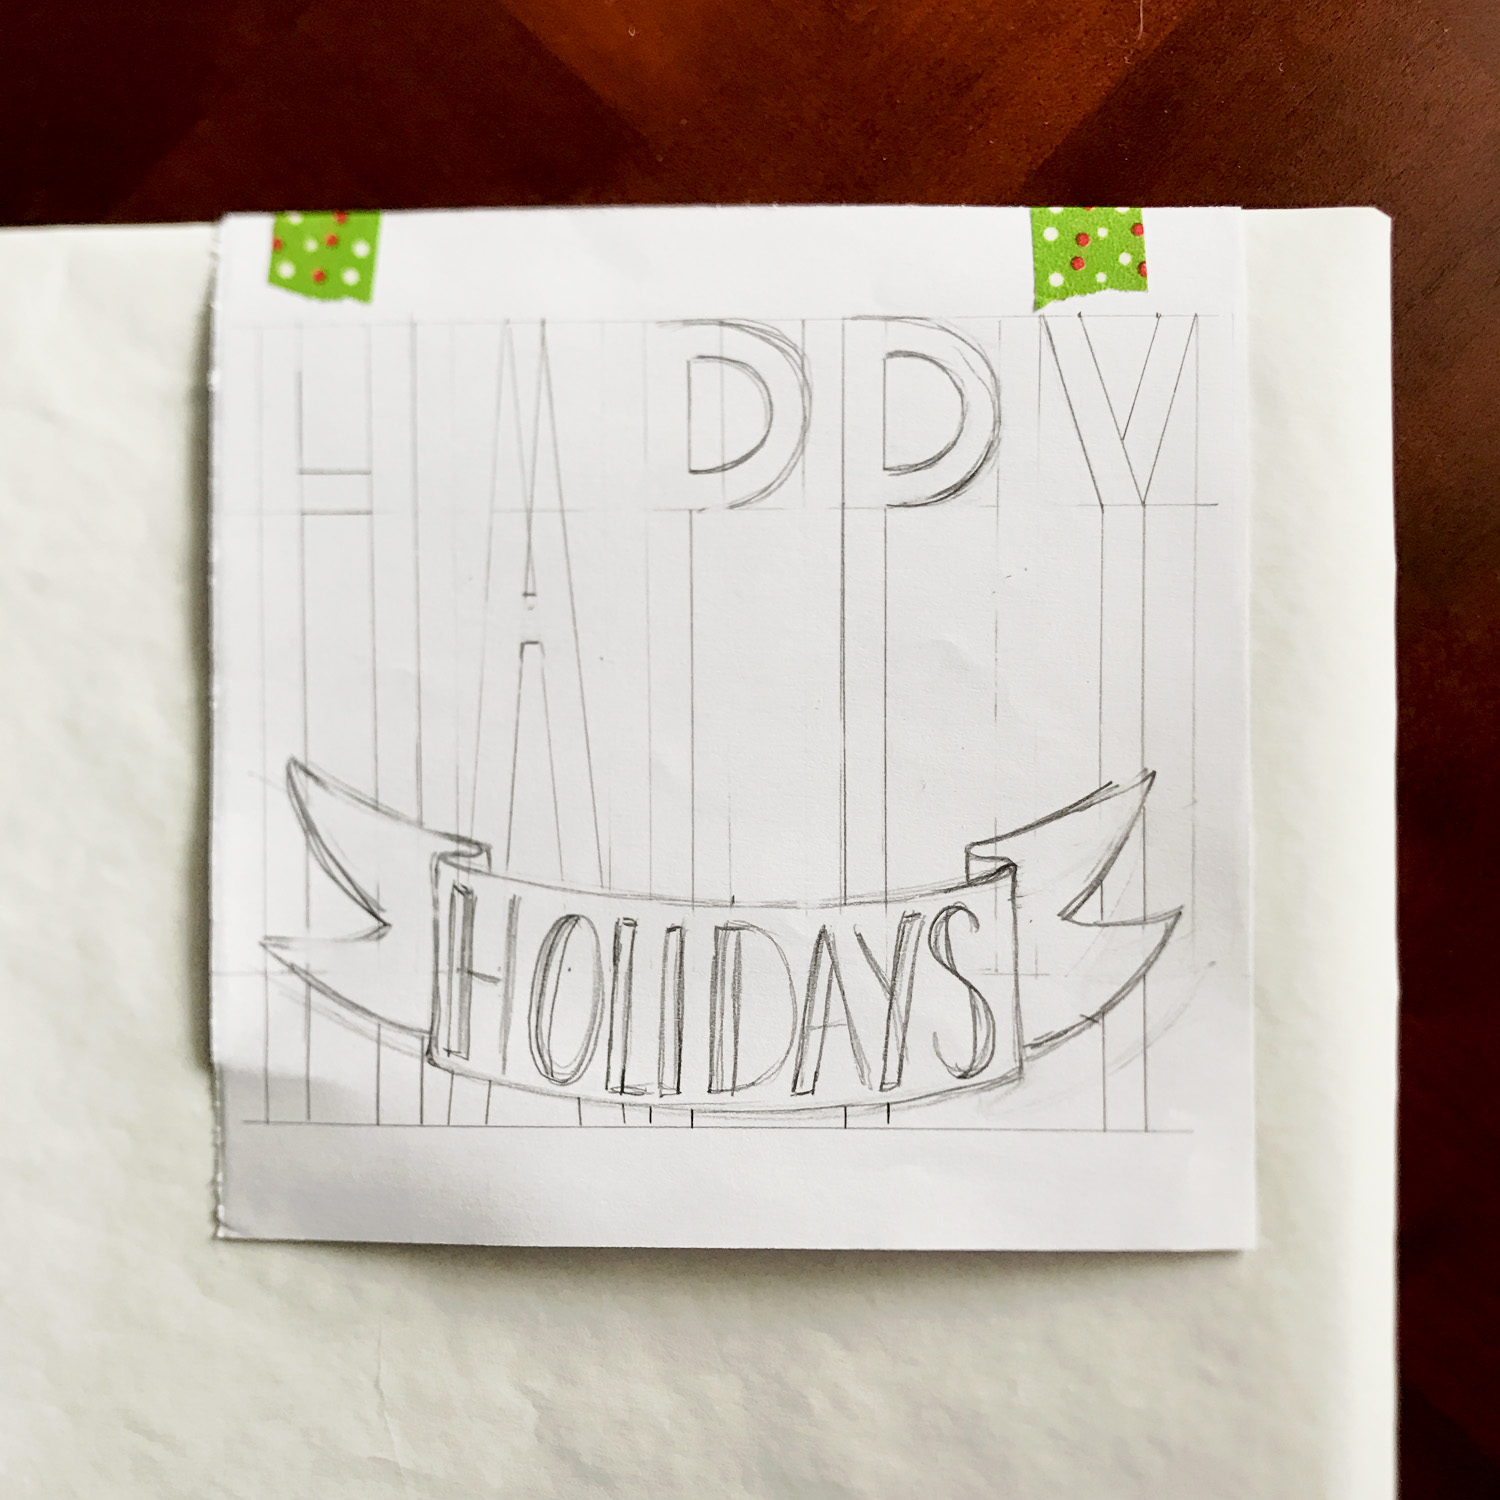
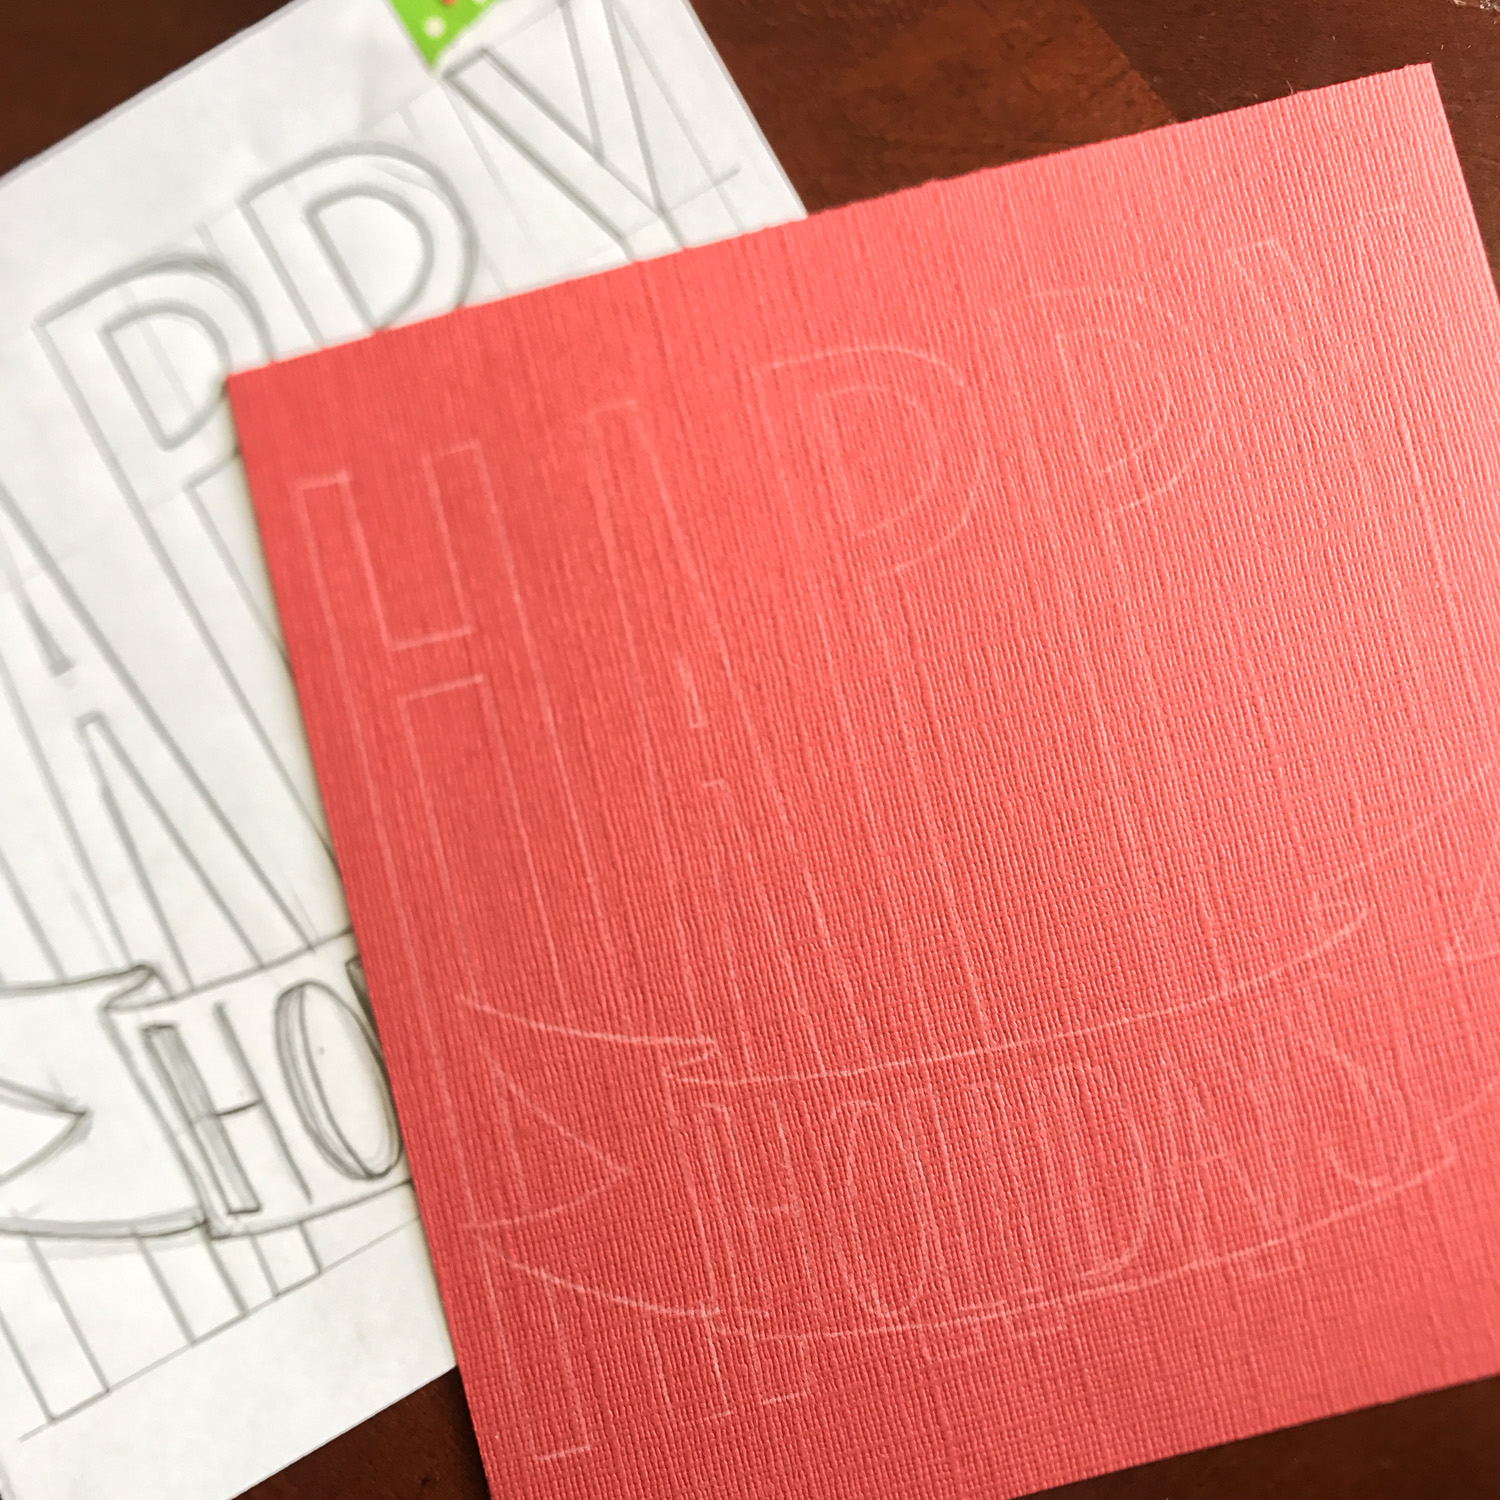
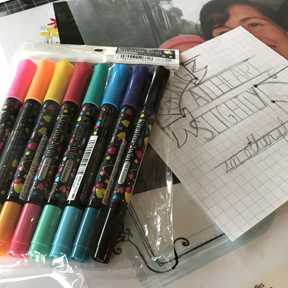
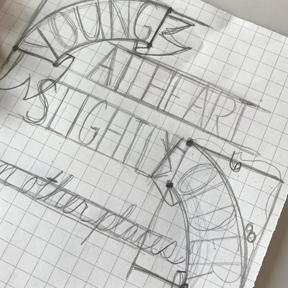
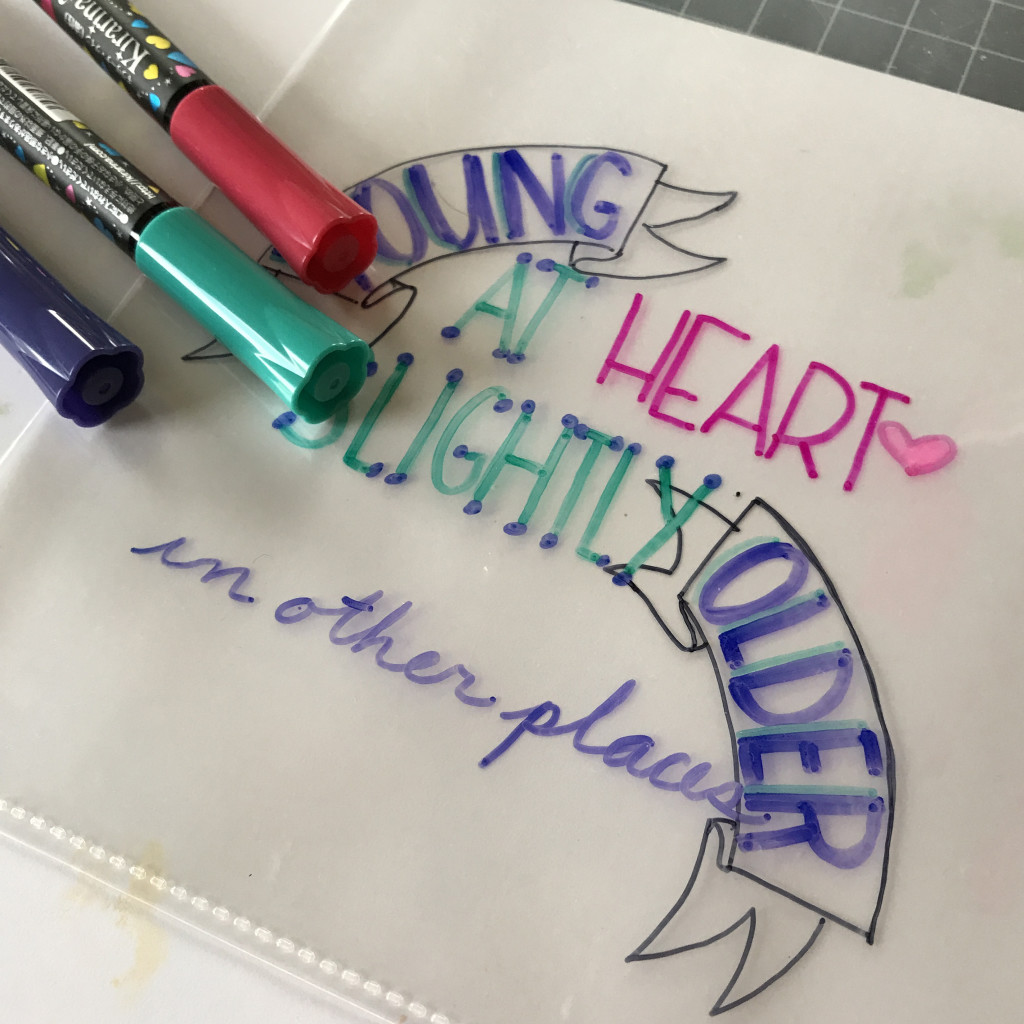
Then I tried adding a little word art onto a plastic page sleeve. To be honest I was going to try a transparency but my entire box of them disappeared and this was the closest thing I could find! I created the word art on a sheet of graph paper:

Kirarina5

Then slid it into the bottom corner of the paper protector and went over the lines with me Kirarina 2Win Oil-Based pens, I love how it turned out!

Kirarina2

I could see using these on class or a sturdier plastic to hang in a window. The thinner plastic will work great as a layer over a card front or scrapbook page.  

I had a lot of fun playing with these new to me pens and will surly come back to them! Imagination International, Inc. carries both of the Kirarina 2Win pen lines and has more fun ideas for playing with them as well.

If you would like to see the Oil-Based in action, I will show you how I made the above projects in a video at Copic In The Craft Room next week!

Have a Happy Colorful Week!

Posted on 1 Comment

Doodle!

This month Imagination International, Inc. asked me to doodle! Say what?! Are you serious?! OH YEAH, let me at it! The few of you that have followed me for a while know that when I started teaching on-line and live classes about 14 years ago I started by teaching doodling classes! In fact I was teaching doodling to my high school art students over 20 years ago! Yikes, I did not just admit that (I am showing my age here). The request was to showcase one of the Multiliner sets this month and I said ABSOLUTELY sign me up!

IMG_3983

So here came this lovely set of Multiliners! These are NOT the SP version I was talking about last month. These are disposable when they run out of ink. This particular set contains some nib sizes that are new to me! The set includes a .03, .05, .1 and .3 Here is what all those look like side by side:

IMG_3982

These are fine detailed nibs, perfect for tiny detailed doodling. 

IMG_3984

Doodling to me is one of those VERY relaxing practices. I can fall into a doodle and quiet my mind. The repetitive patterns to me are very relaxing. If you are an experienced doodler, Zentangler, or sketch artist the Copic Multiliners are worth a try. Weather you plan on adding gorgeous Copic color (of course they are completely compatible with Copic inks) or not, the Multiliners just might become your favorite go to sketch pens.

IMG_3985

If you are unsure, start with the Multiliners and when you fall in love you can buy your favorite sizes in the Multiliner SP series. You of course can find them all, including sets with wonderful ranges in nib sizes and fun colors over at Imagination International, Inc.


Have a Happy, Colorful,  Doodly Week!

Posted on

SP Multiliners and Refils

Did you know that there are 2 different kinds of Multiliners? If you are a Copic fan you probably do, and you probably already know the difference. There are the standard Multiliners these are wonderful sketch pens that are compatible with Copic markers for sketching, doodling adding on to images, weather you are adding color with your Copics or not Multiliners are a favorite among artists. 

IMG_3975

So then what is the difference with the Multiliner SP? The difference is they are refillable! Same wonderful ink in richness and Copic compatibility, but with the Multiliner SP you get the same great benefit as your beloved Copic markers, you can refill the ink and replace the nibs. 

IMG_3976

I own a few of the Multiliner SP pens and use them A LOT, I knew I would when I purchased them so I went ahead and bought the SP version so I could refill and reuse the pen. My Multiliners happen to be broader nibs (they come in a whole range of sizes). I know that I tend to be a little heavy handed when it comes to my sketch work so I decided to get pens that have slightly thicker nibs and stand up to my abuse. So along with owning these pens I usually have on hand refill ink cartridges and replacement nibs. The trick is having the correct ones.

IMG_3978

To replace your nib and/or ink cartridge you can use the Replacement tool if you like. It has two ends the wider opening is to remove the cartridge from the base of the pen. The tiny u notch at the other end of the tool will help lift the nib out of the top of the pen. Once you have pulled your pen apart (with your fingers or the Replacement tool) you are ready to replace the ink and then the nib. Double and triple check that you have the correct sizes of both!

IMG_3979

You can see on the packaging that the nib is specifically for a .5 Multiliner SP which is what is labeled on my pen. The cartridges come in two sizes A and B each one is compatible with several bodies. The B cartridge fits the .2 pens and larger where the A is for smaller Multiliner SP pens.

IMG_3980

Carefully slide the cartridge into your marker body until it fits tightly in the base. Then very carefully insert the nib. These have a long thin core that actually inserts into the ink cartridge. Always replace your ink first and then your nib. If you are only replacing the ink you might even consider pulling the nib out and putting it back in after the ink cartridge is in place. The core can be easily bent by forcing the cartridge into it. 

IMG_3981

Now that I have my pen back together I am ready to doodle! As you know I like to doodle!

Doodle Tangle #1

Next month I will be doodling up a storm to show you the Multiliners in action! Make sure to check back 😀 And if you would like more info on the FAB-U-LUS Multiliner SP pens and refill cartridges and nibs check it out at Imagination International, Inc. 

Have a Happy Colorful Week!

Posted on

Transfer Paper from X-Press It

X-Press It has come out with a new product that Imagination International, Inc. is now carrying! Transfer paper 🙂 I saw this one last year at CHA and I have been waiting NOT SO PATIENTLY for the product to arrive! I know transfer paper has been around for a very long time. But this is a new and improved version that is worth a look.

transfer-1

Remember the mess transfer paper was? all that black stuff all over your hands and smearing on your paper? Not from X-Press It, clean hands and clean projects the transfer only goes where you put it. And it used to come in gray and or black, but X-Press It has designed both graphite (gray) and white, for transfers onto darker papers. One other bonus (and it is a doozy) is it’s ability to run through a printer. You can print an image or design directly onto the transfer paper, lay it on top of the surface you want to create your art on and go over your lines to transfer. EASY PEASY! 

Today I am going to use it in a more traditional way and transfer a rough draft onto a final surface. I have my rough draft, my paper for my final project, Washington tape to keep things from wiggling and my white transfer paper.

transfer-2

When using the white make sure you check with side to lay towards your final project. The cream side is actually the transfer side.

transfer-3

Then I make a sandwich of my papers. I tape my rough draft on top of my final paper with two small pieces of tape at the top edge and slide my transfer paper in between the two layers.

transfer-4

transfer-5

Next I go over all of my lines with a pencil. If you are concerned you do not have the correct side facing down take a peek after drawing one or two lines to make sure. With the tape holding the paper together you can look with out messing up the transfer.

transfer-6

Then I finish up my art work. I have been doing a lot of practice for our new Hand Lettering Workshop and the X-Press It Transfer paper has been an invaluable tool! Wait till you see how some of the other team members are using the transfer paper with photos!

Make sure to check out all the information at Imagination International, Inc. AND also check dates for all the upcoming Copic Workshops and Certifications. There are several Certification classes that are now open for registration!

Have a Happy Colorful Week! 

Merry Christmas and Happy Holidays!


Posted on

Holiday Stamp #4! Merry Christmas!

We have reached the 4th week of my mini giveaway and the fourth stamp in the series that I created for all of you. This week has a Candy Cane for your coloring fun. 

kmh-candy-cane-stamp

I colored it up and photoed all the steps, you can find the tutorial at Pinterest HERE OR grab the link over at Copic In The Craft Room.

Color away Copic Friends!

candy-cane

Have a Happy Colorful Day!

Merry Christmas and Happy Holidays!