Posted on 1 Comment

Zweckentfremdung!

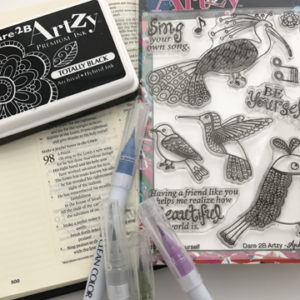
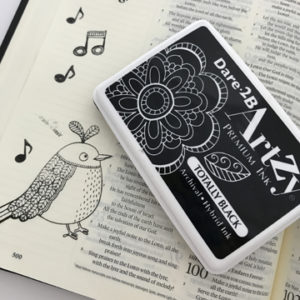
Yep, Marianne Walker is bringing a new word into our lives! Wondering what it means? It is a German word that means “diversion from its proper use”. The challenge, use an Imagination International, Inc. product in a zweckentfremdung fashion. Little did I know that I did some research for this very post this past month at Copic In The Craft Room

On Thursdays I have been posting fun questions about Copic, crafting and general silliness. We have had incredible participation and wonderful responses. It is truly exciting to see the Copic crafting family so active and involved! Any way, I posed the question “Favorite Copic “alternative” use? Other than coloring in an image” and I got all sorts of answers! So I have compiled a list and added a few photos where I have tried a few of these “alternative” uses or zweckentfremdung uses for my Copic markers!

  • Adding color back into bleached carpet
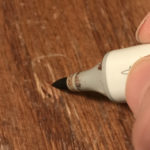
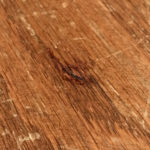
  • Matching wood varnish where worn out
  • Coloring over stains on cloths
  • Change the color of the roots of high quality wigs 
  • Color Ribbon to match art work
  • On white thread to perfectly match clothing being sewn
  • Touching up scuffed shoes
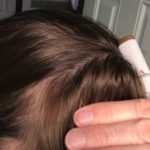
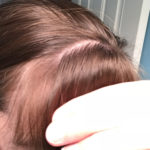
  • Gray hairs
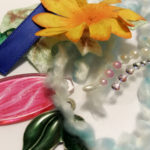
  • Add color to decorative pearls or rhinestones
  • Color a bleached spot on clothing
  • Pet damage on wood furniture
  • To enhance metal embellishments, decorations and jewelry
  • Brush Lettering
  • Touching up Cabinets
  • Touching up Seat Covers in the car
  • Touching up frame on eye glasses
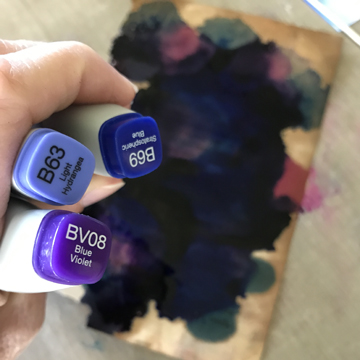
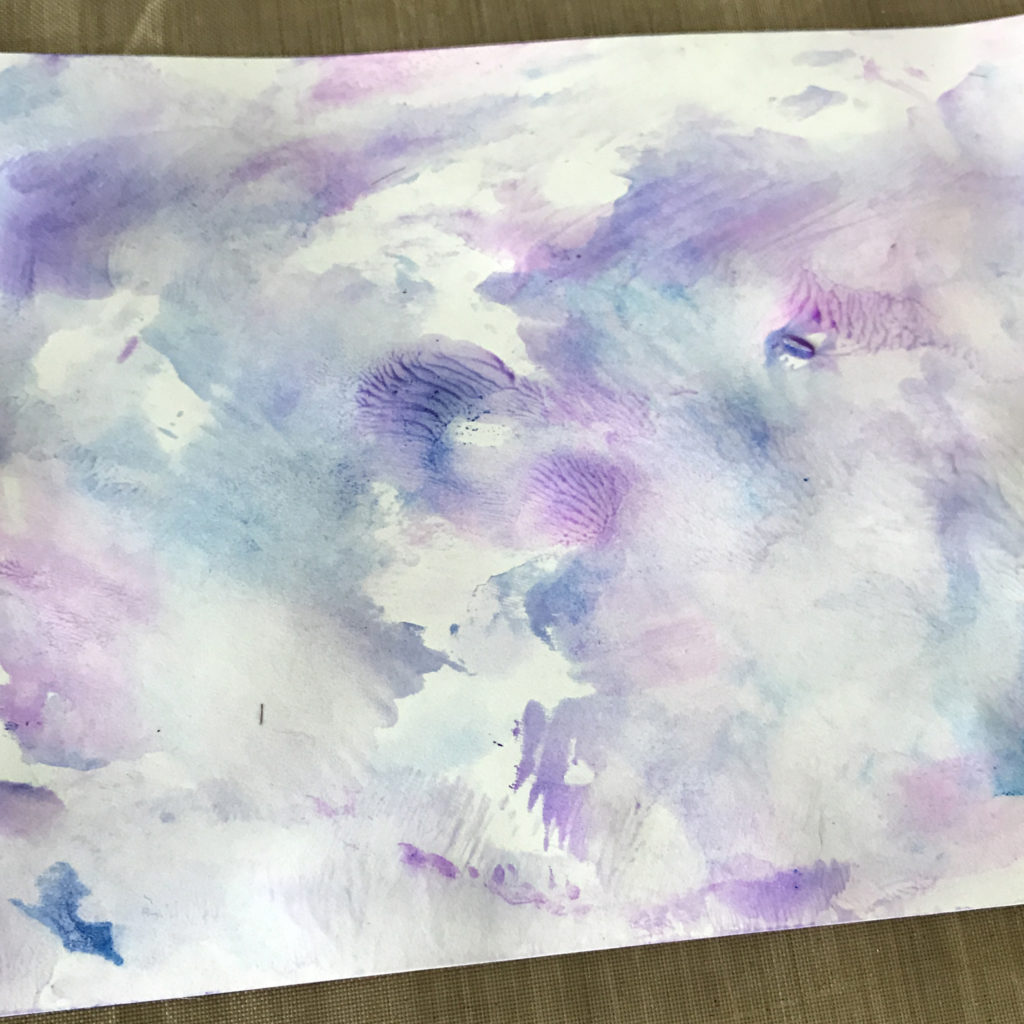
  • Air Brushing mattes for art work
  • Decorating an air cast
  • With Wood Burning
  • Fixed old wall paper
  • Black out personal info on junk mail before throwing out

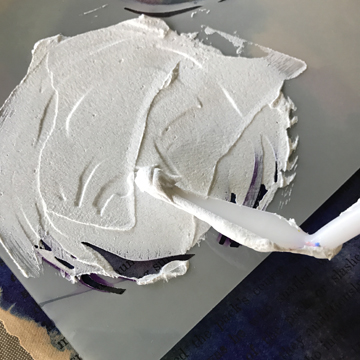
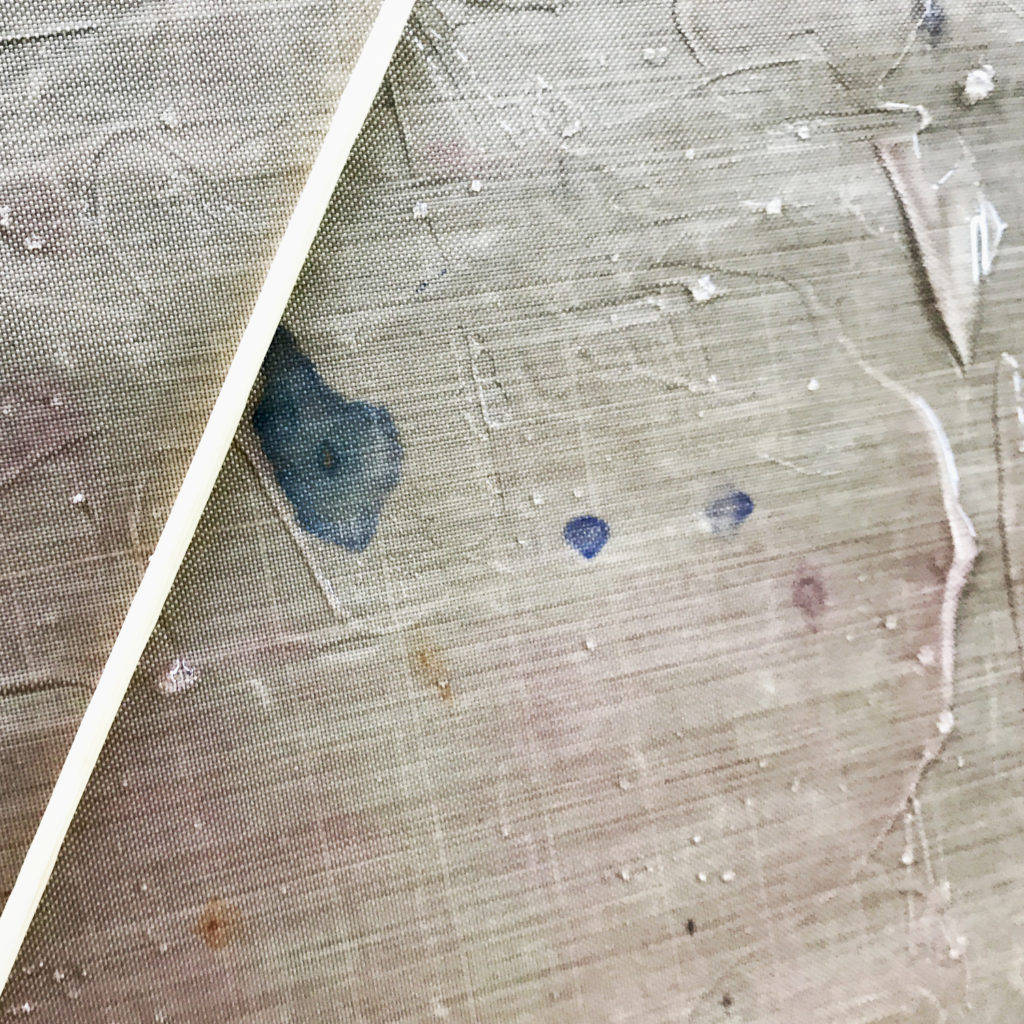
Here I am testing a couple out: 

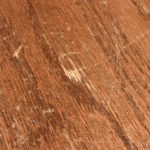
First I am correcting some scratching on wood, this happens to be a busy bench in our mud room so it is COVERED in scratches I am showing you a larger gouge in amongst many other scratches 🙂

Then I tackled some gray hair (he he) I do not have man and it is hard to see in the photo. The rest of the color in my hair is NOT Copic even though many have asked. 

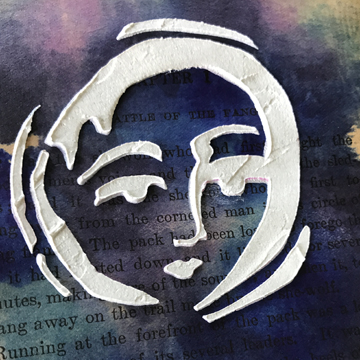
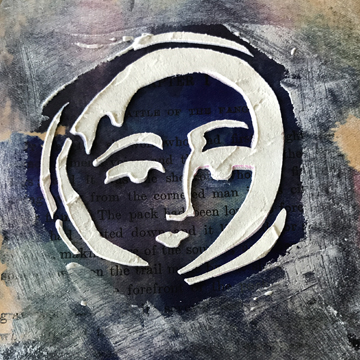
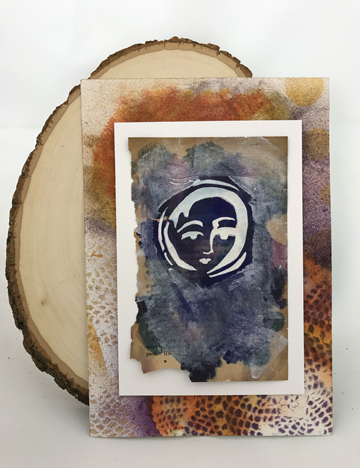
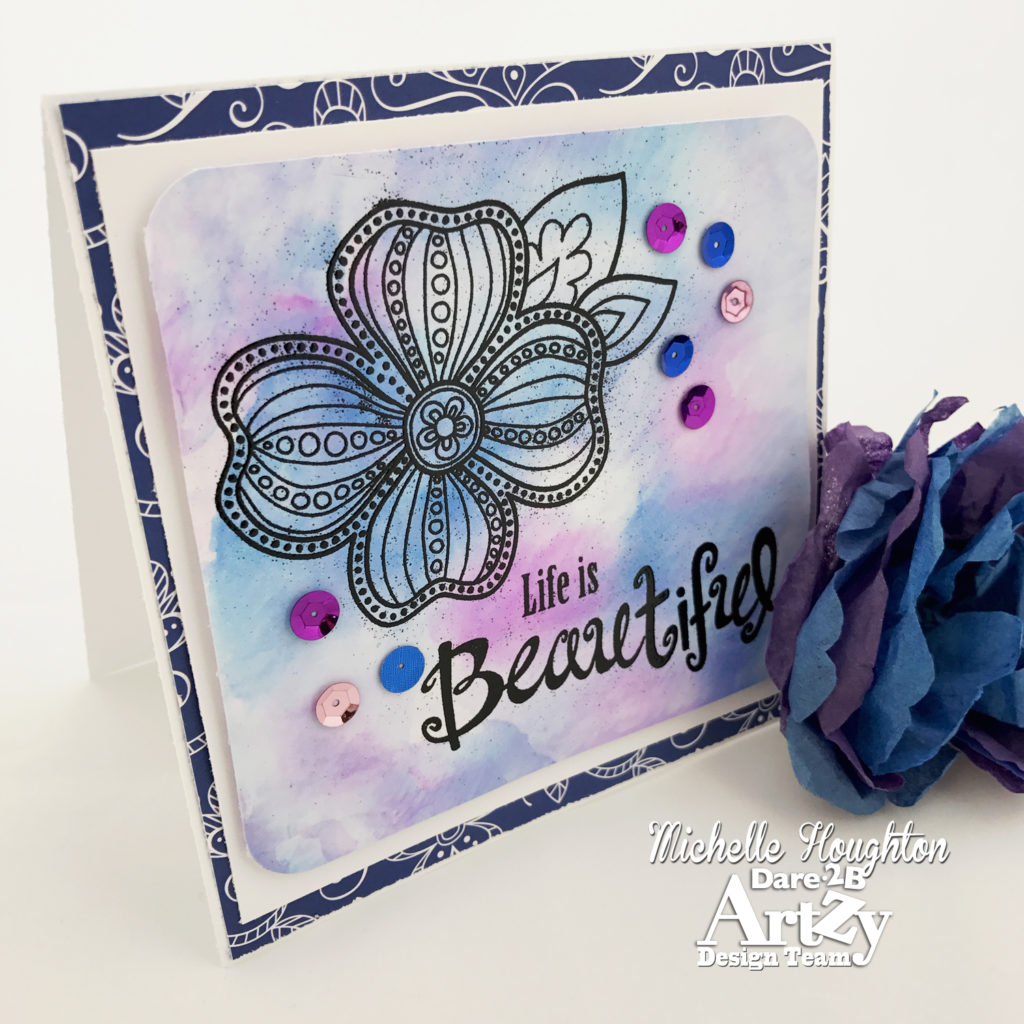
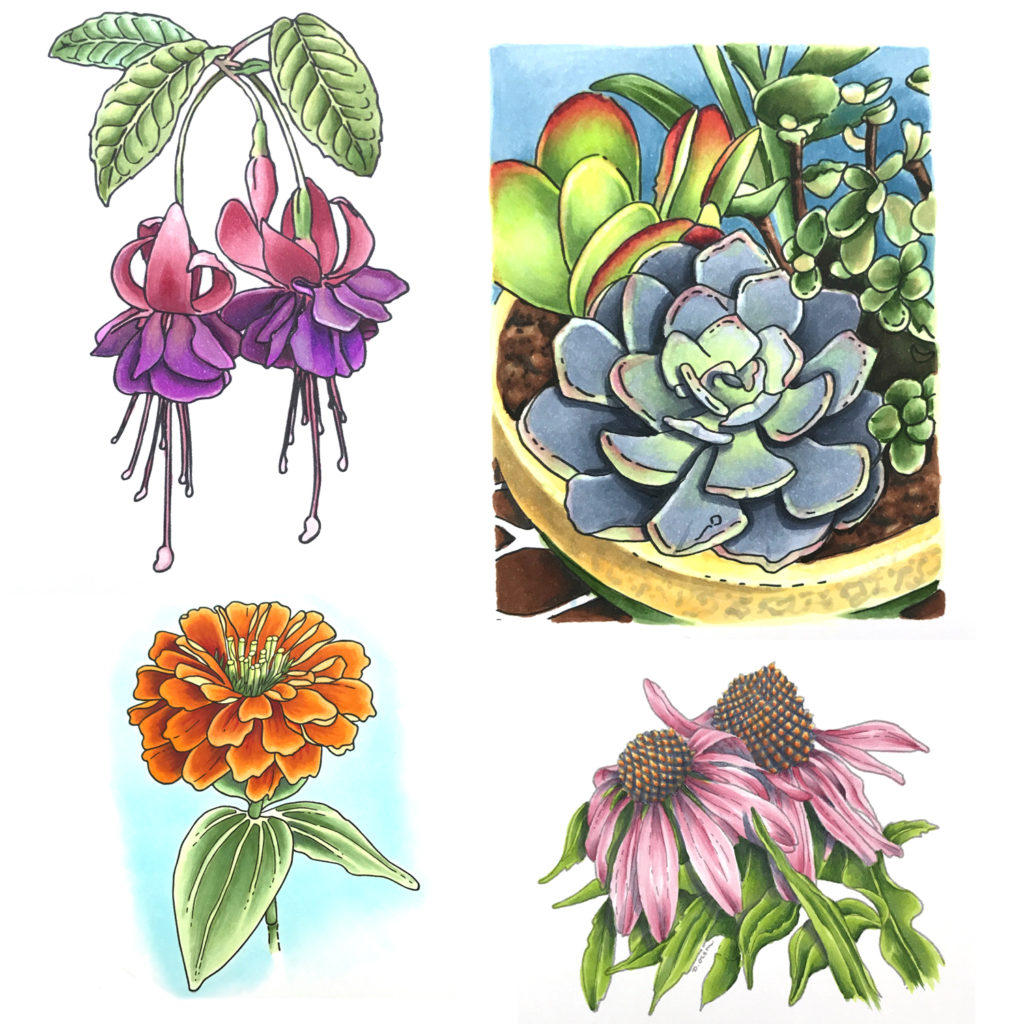
And of course coloring all sorts of do-dads to go on all your crafting projects to create your perfect matching embellishments!


Copic markers lend them selves to all sorts of coloring since they stick to most surfaces and come in such a WIDE range of colors. This list is only a sampling for some of the uses some have found for these Fab-U-Lous markers. No wonder why we love them so very much!

We are having so much fun over at Copic In The Craft Room! Come join in the conversation and inspiration.

Have a Happy Colorful Week!

Posted on

Tommy Arts, I am in LOVE

One of the new product lines at Imagination International, Inc. this year is the full line of Tommy Arts products. I’ll be honest and tell you that s soon as I saw these beautiful paints and mediums in action last year I used my next pay check to stock my art shelves with a lot of Jars with the beautiful Tommy Art labels on them. 

If you are not familiar with Tommy Art they are a fabulous line of Chalk-Based Mineral paints. These, however, are not ordinary chalk paints! they are buttery smooth, beautiful one coat coverage and flexible. You can bend and fold your paper after painting it and the paint does not crack or flake off. Then you have a whole series of wonderful specialty product that go with the paints. I can’t describe them all in a single post but encourage you to check them out over at the III web site.

This month one of the products the Paper Crafting Design Team is featuring is the textural mediums in the Tommy Art line. YAY!

A perfect excuse to play! So I started by building a base with Copic Various Inks:

I used some leftover ink off my craft matte that is floating on top of hand sanitizer. You can see the leftover ink is starting to color the old book page and the hand sanitizer has gotten the paper coated.

Then I dripped Various Ink in three more colors onto the wet surface of the paper. The hand sanitizer has the ink spreading and if I tip the paper at all it runs one way or the other. A lot of ink and moisture on the paper!

I used a roll of paper towel to roll over the page and soak up the surface ink and moisture. You can see the colors much more clearly now!

Next comes the Tommy Art, I am using the Stencil Light Paste and the Timbrillo. (Make sure to roll the R when you say that one it sounds much more sexy)

To start I mixed a small amount of both textures into a Dixie cup. The Stencil Light Paste is exactly what the name implies a paste used to created raised texture through a stencil. The Timbrillo is a medium that adds gorgeous sparkle! The Timbrillo is meant to be added into the mediums or paints for added shine and I will use it in conjunction with the paste and on its own. 

I selected a beautiful stencil by Dina Wakley an used a palette knife to spread a thin coat of my mixture over the top of the stencil that I laid on top of my dry inky book page.

I lifted off the stencil to see the results. The paste is very thin, maybe 1/16th of an inch at the most, maybe a little thinner. I had a little extra paste under the right eye of the image and it was easy to use a toothpick to gently clean up the excess.

I decided I wanted some more sparkle, so after cleaning up my palette knife I used it to add the Timbrillo around the moon face. I could use a paint brush. the Tommy Art products clean up easily with water, I just had the palette knife handy.

I loosely attached my dry page to a sheet of white cardstock. To complete my piece I found an old mixed media page created with Copic, oil pastel and acrylics that I attached my cardstock on top of with foam tape. 

For now it is finished. You never know with a mixed media piece, I have been debating some writing around the edge of the white frame, but I am pretty happy with it at the moment so I am going to leave it as is for the moment. 

Our entire Paper Crafting Design Team will be working with several of the Tommy Art products over the next few months so stay tuned. To find links to several of the Design Team members blogs and posts head over to Copic In the Craft Room on Facebook. I feature our Paper Crafting Design Team twice a week with all of their fabulous art!

Thanks for joining me today,

Have a Happy Colorful Day!


Posted on

Dare 2B Artzy Big Bloom Stamp

I have a second take with the D2BA Big Bloom stamp set featured over at the D2BA blog today. I created another Copic background to base the image, here is how I did that part first:

Start by squirting hand sanitizer on a craft matte – 

Spread it out evenly using a craft stick or similar tool – 

Drip Copic Various Inks onto the hand sanitizer – 

If you want marble the colors together with the end of your stick – 

Lay your paper face down onto the ink – 

Carefully peel the paper up from one corner – 

I wanted a more subtle color wash so I used a second piece of paper, then dried the paper with my heat gun – 

Next I gathered supplies to add my image – 

I stamped, sprinkled embossing powder and used my heat gun to set the embossing powder. I love how the image turned out even with the extra flakes of embossing powder scattered throughout – 

To finish it gets trimmed up, layered with yardstick, patterned paper, and a card base. A sprinkling of sequins is the final touch – 

I love that Dare 2B Artzy has me creating art regularly right now it is so good for my soul! Through the business of life it brings me peace! The products from Dare 2B Artzy that I used today are the Big Bloom Set and Artzy Doodled Paper Pack.

Thank you for stopping by today!

Have a Happy Colorful Day!


Posted on

All New Copic Class Deputes at Creativation 2018

Today is the day we are opening our classes for January 2018 Creativation. The event in Phoenix is being held January 19-22 and we are holding all of our classes January 17th -20th.  The full line up includes

  • Standard Certification taught by Jennifer Dove January 17th
  • Brand New Copic Coloring Flowers taught by Jennifer Dove January 17th
  • Intermediate Certification taught By Jennifer Dove January 18th
  • Copic Coloring Animals taught by Cindy Lawrence January 19th
  • Copic Coloring Landscapes taught by Cindy Lawrence January 19th
  • Hand lettering taught by Debbie Olson January 20th

We are super excited to get these classes open and ready for registration so you can make plans to attend while you are in the area for Creativation AND you do not need to be a member of CHA to come! ANYONE can come take our Certifications and Workshop classes! So come join the fun with 1,2,3 or all 4 days of Copic Coloring Fun!

Here is a peek at some of the new Copic Flower images!

Make sure to come over to Imagination International, Inc. to see all the details and get registered to attend! All of the remaining 2017 classes are now open for registration as well so check out the remaining Workshop and Certification weekends and see if you can come color and play!

Have a Happy Colorful Week!


Posted on

Bible Journal Page with D2BA

This week I am in overwhelmed mode. Projects left and right all stacked up, all good, but overwhelming. So when the devotional that I received via e-mail seemed to speak directly to me to slow down, take a breath and start fresh, I figured I better pay attention. So to start re-freshing my devotional/worship time I slowed down to create a Bible Journaling page. I used a stamp set and ink from Dare 2B Artzy.

I used both the Be Yourself stamp set and the Totally Black Premium Ink. Then SHHHH! I did not use Copics this time I used Zig Clean Color Real Brush pens for this particular entry.

I stamped one birdie, some music notes and a phrase in the margin of my page:

Then I added color. I used my pens and also a water brush for a beautiful water color effect. The ink sat tight with no smearing! Gotta love a good ink!

I added my journaling and also a few small do-dads. The page needed very little added around the beautiful stamps.

I am truly enjoying being part o the design team over at Dare 2B Artzy, even though I am busy right now this has been such a wonderful infusion of fresh inspiration and time for art. Here is one last peek at the sweet birdie:

Thank you for stopping by! Make sure to check out more of the inspiration and beautiful supplies over at Dare 2B Artzy when you can!

Have a Happy Colorful Day!