I Love Copics! Love them, and I knew that is not news to anyone who knows or follows me. I love everything about them, the quality of the product is the bomb! But what drew me in to start…the COLOR! All of it all that glorious color. So I love to play with all my markers, but it also comes in all the refills. Yeah I can refill my markers with them so I never have to throw away a single marker body, but better yet is to play with ink!
One other thing you might know about me is I am not afraid to get a little inky and messy. So every once and a while I leave my markers on the shelf and reach for my Various Inks. I found this great vellum paper with star constellations printed on one side and figured this might make a quick and easy card!
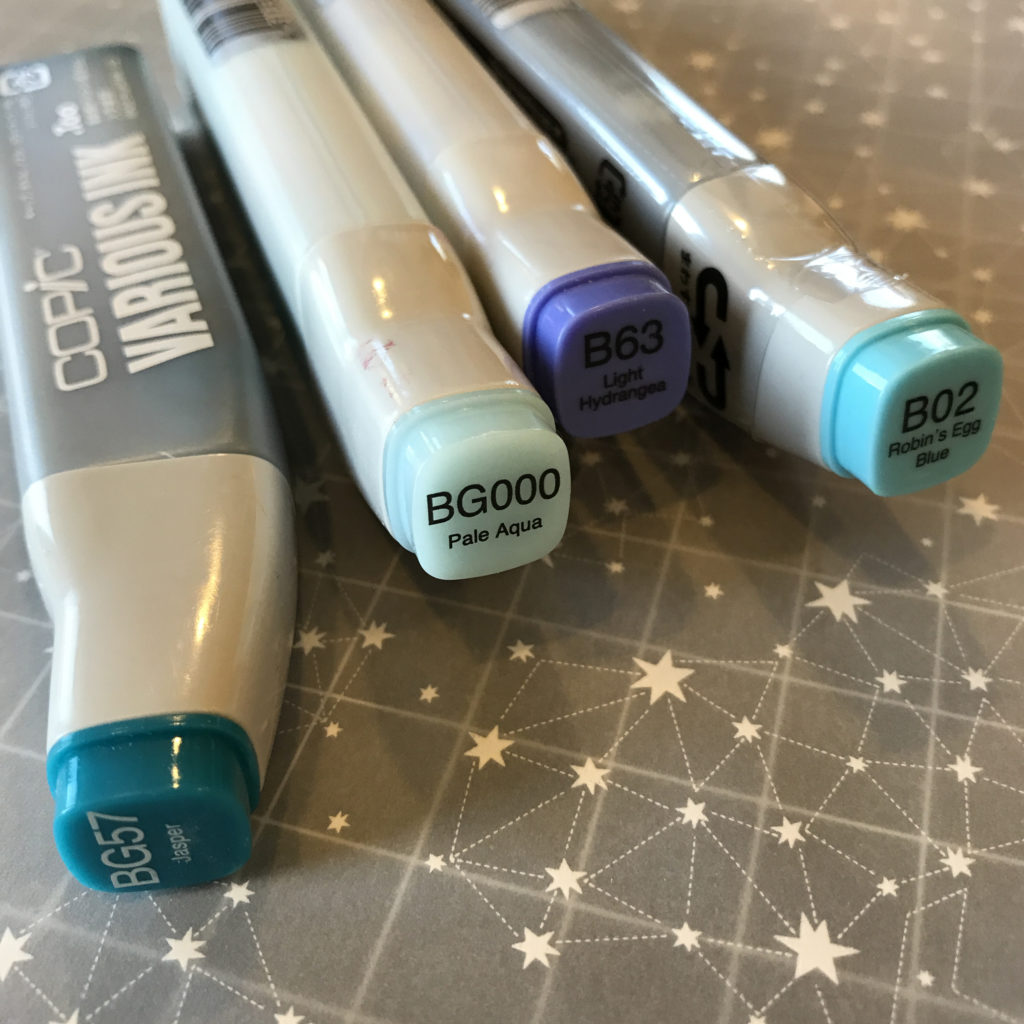
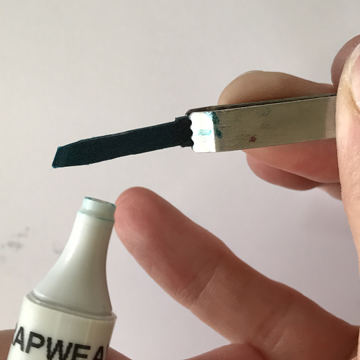
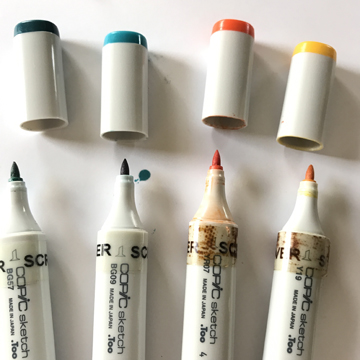
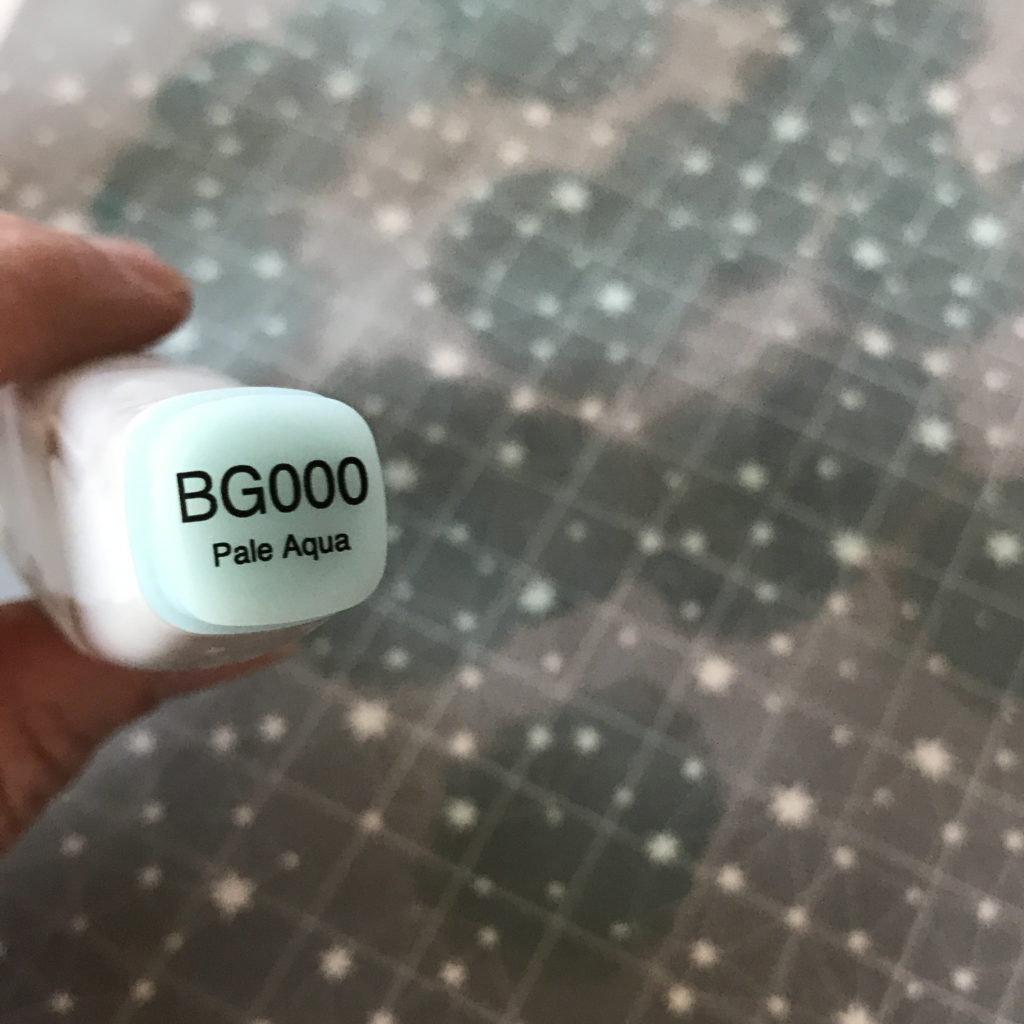
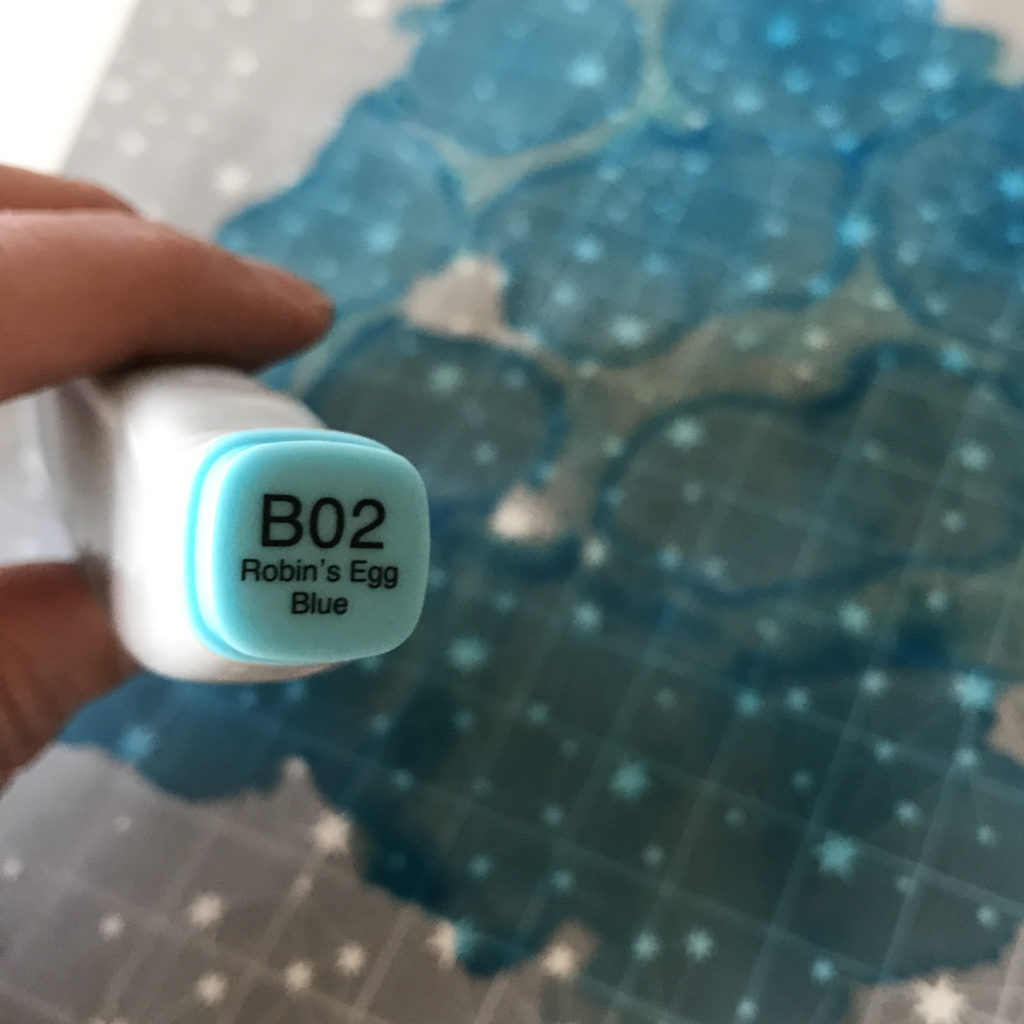
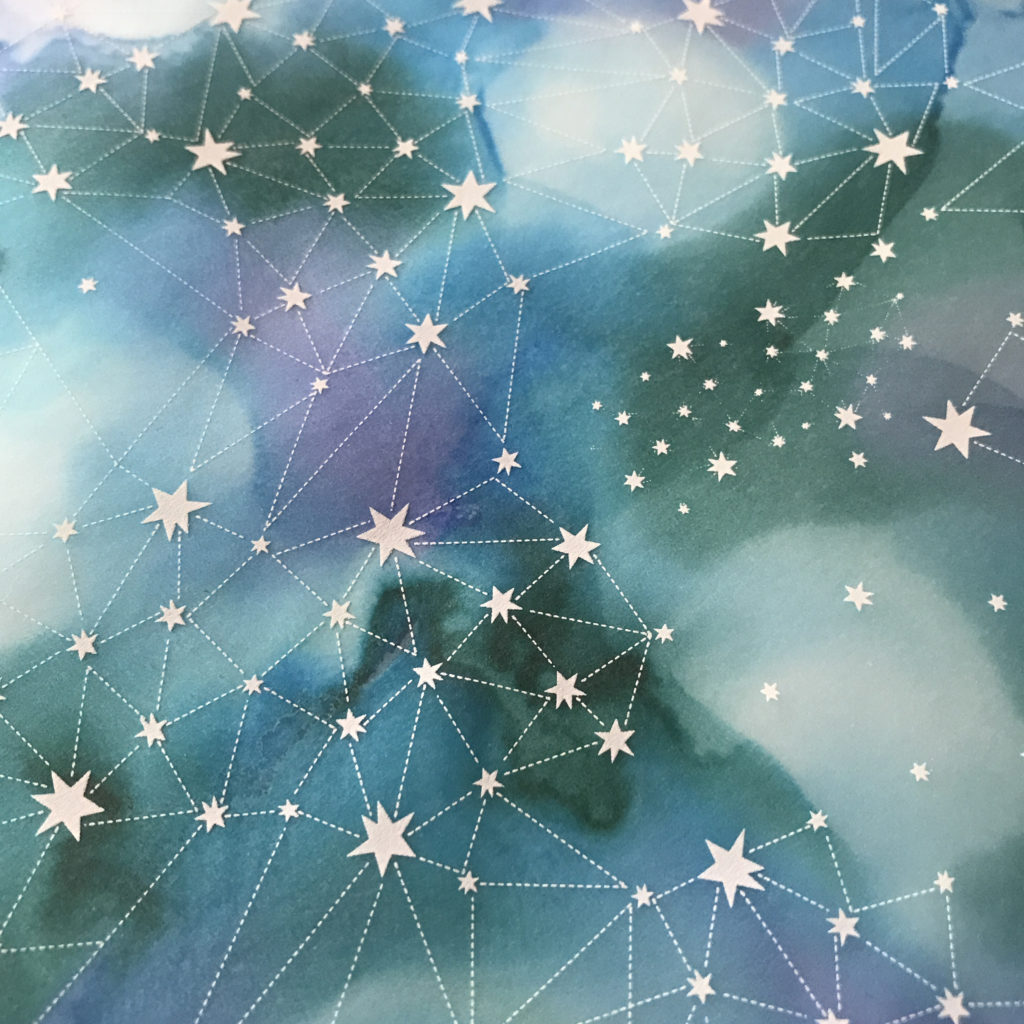
I turned the vellum over to it’s back side where the stars and lines are lighter and started adding my ink. I tend to start with my lightest color first. I just drip the color on the vellum. Notice I am not working with blending colors these have contrast to them. All are in the Blue and Blue Green families, but extreme differences.
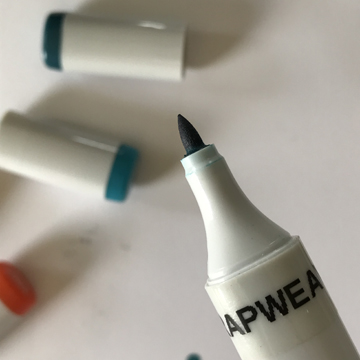
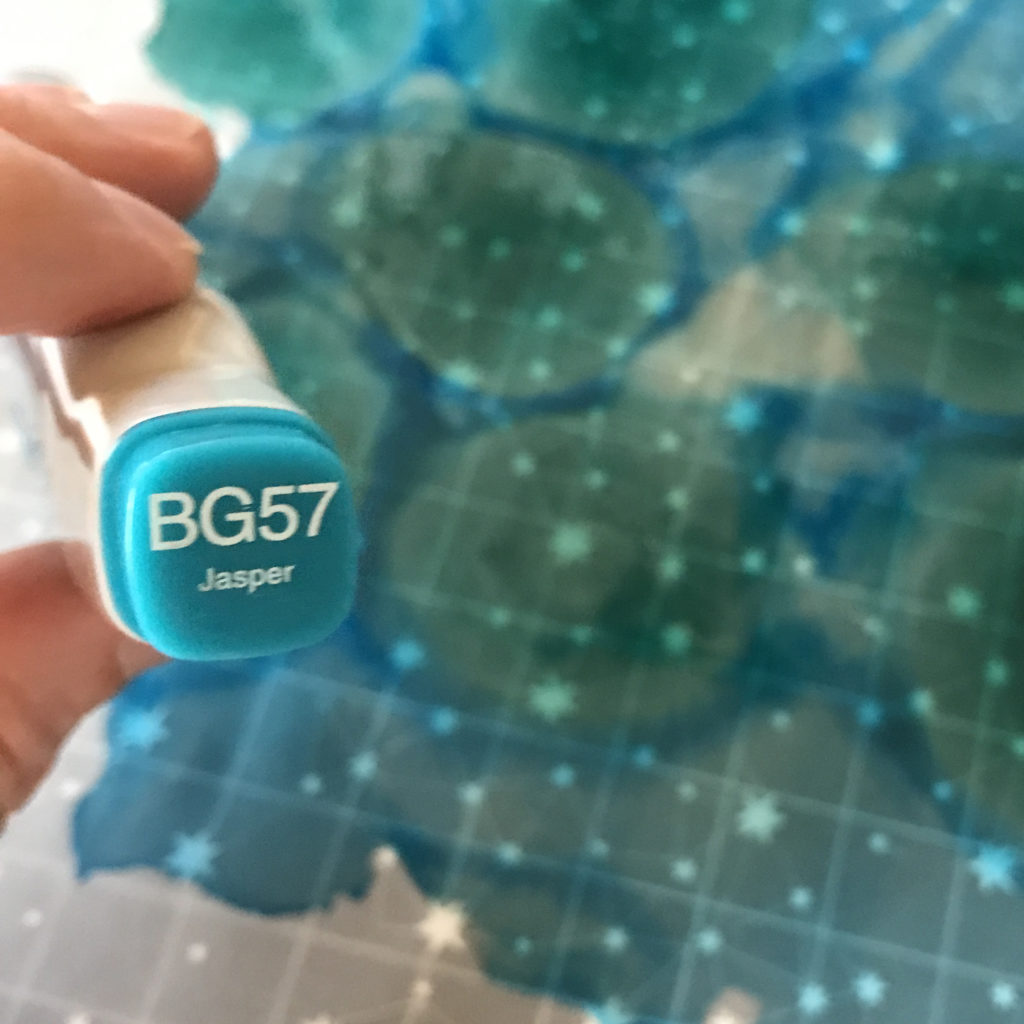
I add my next color;
then my next;
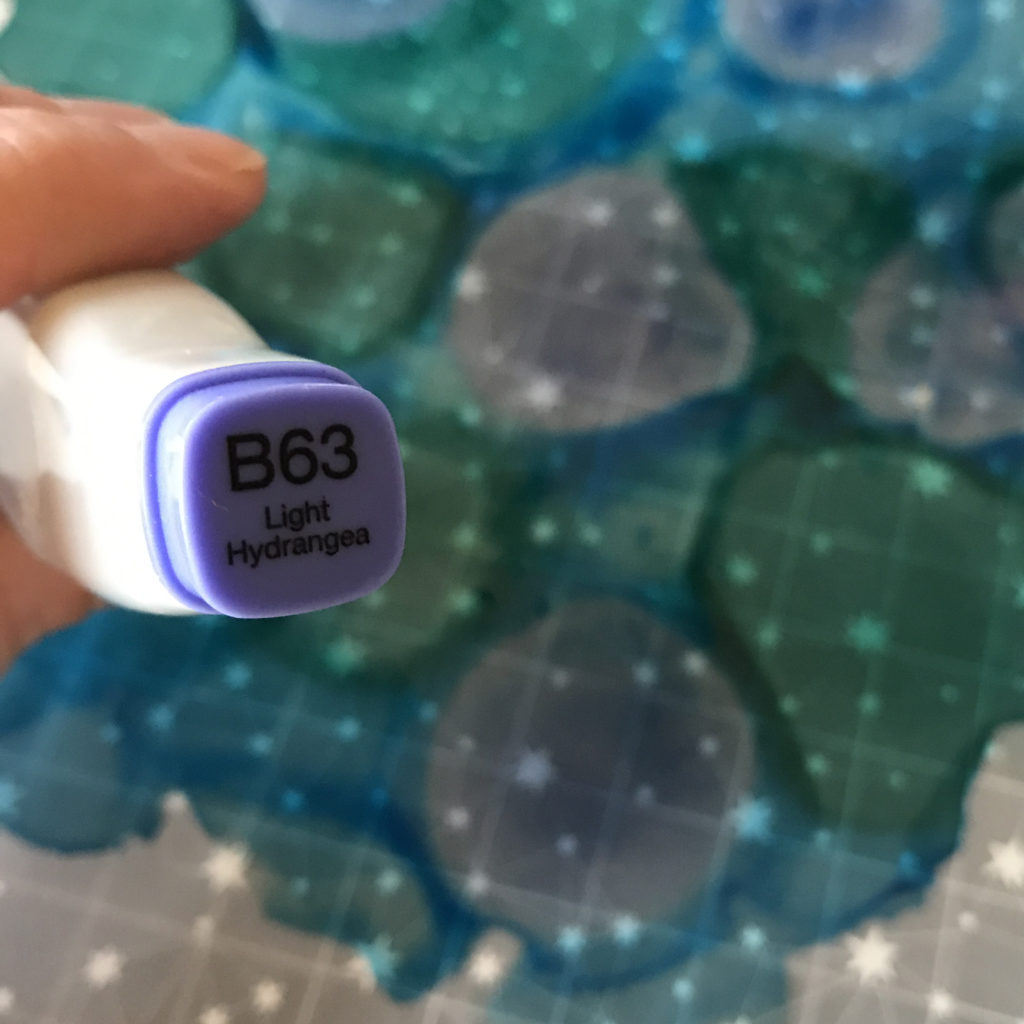
and finally my darkest (not really darkest but the most contrast);
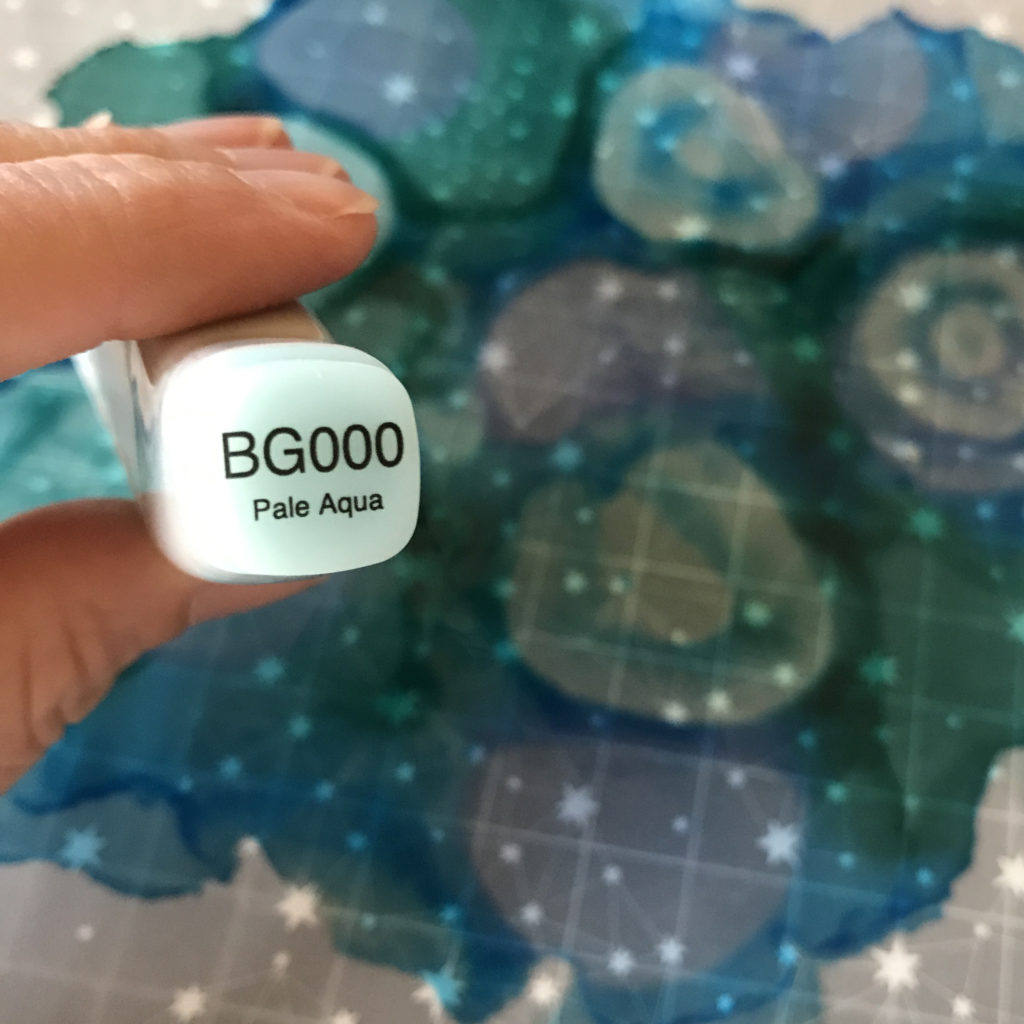
I go back one last time with my lightest color just to lighten up a few spots. I love how the alcohol in the lighter color pushes at the darker colors in this step.
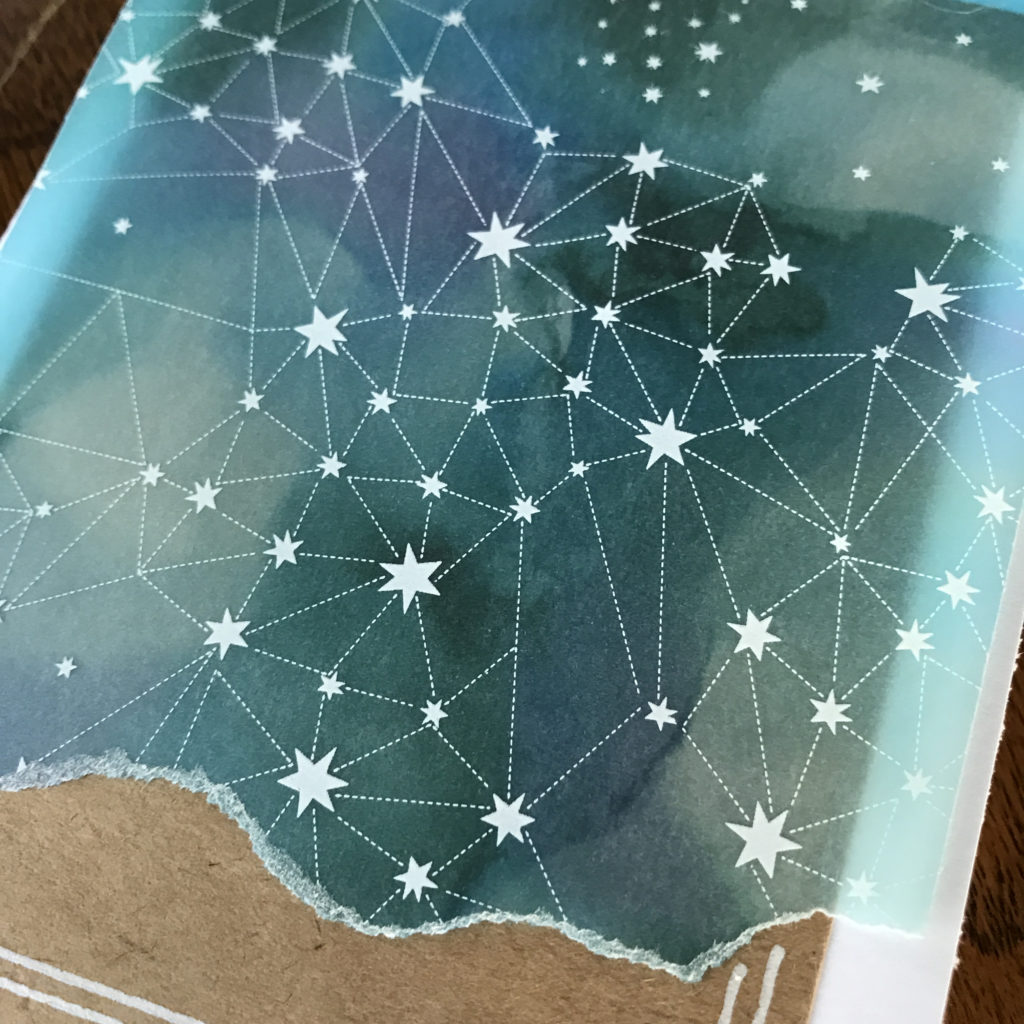
Here is a peek as it is drying. It takes a little longer on vellum so I do have to have a little patience. I could heat set, but that might effect the vellum and while wet, the ink can still move around, like drip and smear so I pretty much let it sit.

Then I get to flip it over and see all the pretty stars again!
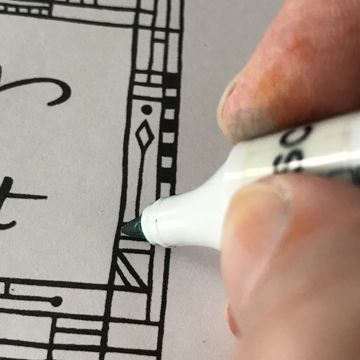
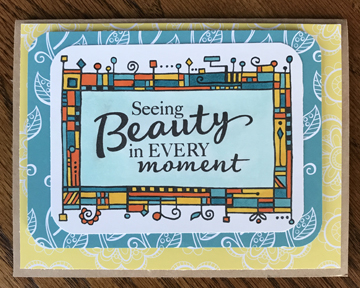
I chose a simple card base and actually like the vellum over a Kraft cardstock. I added some white Doodles with a Kirarina pen and ta-da!
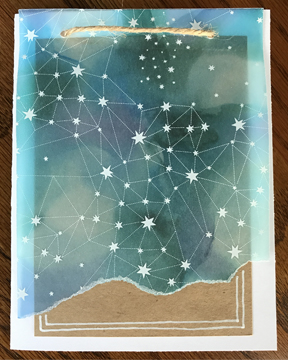
If I want it will be easy to add a sentiment in the corner or even with my Kirarina on the vellum.
Fun, easy, quick cards are the best and Copic Various Ink can really add the color that we love so easily!
For more great ideas using Copic Various Ink check out Copic In The Craft Room on YouTube and look for my series on mixed media! There are several videos featuring Copic Various Inks!
Thanks for stopping by!
Have a Happy Colorful Week!