I love that I get to share all the fun products that are available at Imagination International, Inc. with my friends and followers. I really do love the products that we get to share every month. But am I allowed to play favorites? I mean this is not one of my children or even friends so you think that would be OK?
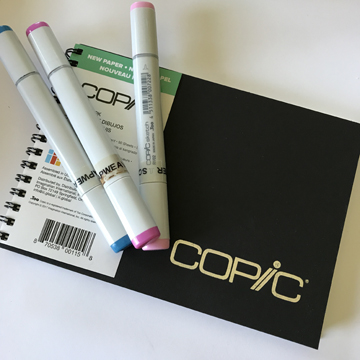
I am picking a favorite this month and you are going to LOVE it! Imagination International, Inc. is now making their very own Copic Sketchbooks. Yep beautiful, yummy, Copic compatible paper all tucked into a sketchbook. So you say that is not enough to wow you? Well what if I told you they come in 6 different sizes? So here are the stats then I’ll show you what I added.
• 50 Sheets
• 70 lb professional-grade Japanese paper
• Super smooth surface for clean inking
• Uncoated paper (Ideal for Copic markers)
• Warm toned paper for vibrant coloration
• Pencil erases cleanly
• Super thick covers
The paper is beautiful and quickly becoming my new favorite Copic paper!
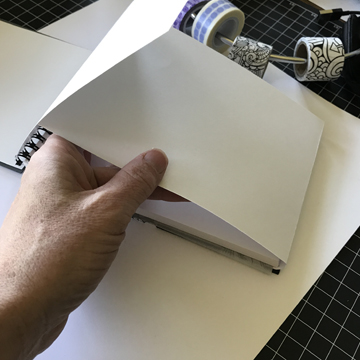
So I decided to add a little something into my sketchbook. As a Copic user you probably know, (or if you are new to Copics here is a FYI) Copics will soak through the paper that you are coloring on. Whether you are working on heavy or light cardstock there will be some Copic ink coming through. This is the main reason we make sure to work on top of an absorbent surface. There is not an exception when working in a sketchbook. Now you can just let ink soak through to the page underneath skipping every other page, but if I get 50 pages I would rather color on 50 pages! That means I need a sheet to go in-between my pages. I can just carry a loose sheet with me, but I figured it might be more fun to attach something that I could use for several pages and switch out as needed.
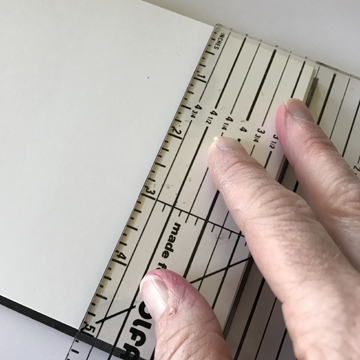
I measured the paper on the inside just to double check how large I would need the insert to be. The paper in my sketchbook is 5″wide and 6.75″ long going right up to the spirals.
I cut and then scored my cardstock next. I am using a CHEAP cardstock that will serve great as a blotter to work on top of. I cut an 8.5 x 11″ sheet down to a 5 x 11″.
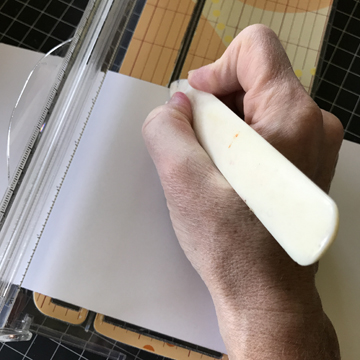
The score lines I created using a bone folder and the gutter in my cutter which allows me to measure and score easily. I measured and scored at 6.75″, 7″ and 7.25″. I then used a liquid adhesive like the X-Press It glue marker to adhere the shorter end to the back cover of my sketchbook. I made sure to line up the top and bottom and the first score line with the paper.

For fun I added some decorative tape because who doesn’t like a little fun? I figure I will change out the tape each time according to my mood of the day, I certainly have plenty stashed away!!
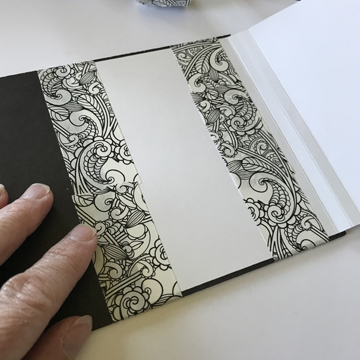
So then the flap folds right into my sketchbook ready for Copic coloring.
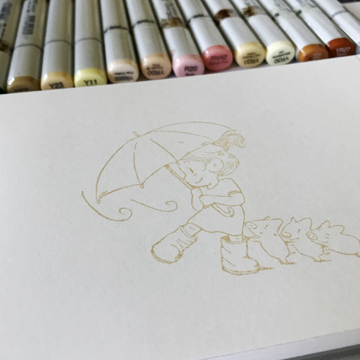
If you are still reading here is the fun part! I stamped a fun new image into my sketch book…
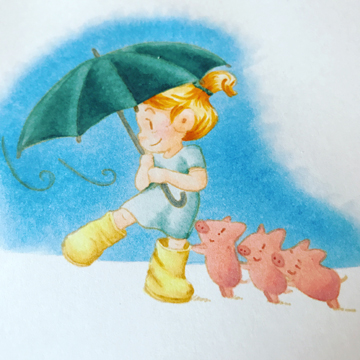
And color, color , color! If you would like to see the video of the coloring of this image scoot over to Copic In The Craft Room on YouTube and check it out!
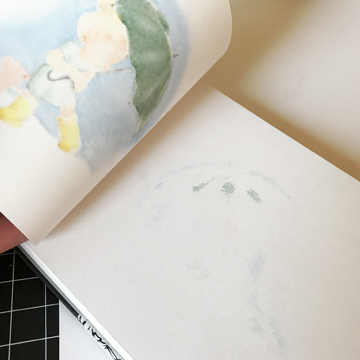
And how did the insert work? Great! I figure I will need to switch it out every 6-10 images but sometimes it is fun to do some of those extra little organizational steps. And now I have a built in blotter sheet.
Have a Happy Colorful Week!