Ever had a cool new stamp that has you inspired to create an awesome background? I have a new set of Stampendous stamps by Laurel Burch and I am in LOVE. I love Laurel’s art work anyway and now I can get it in stamps, AND they lend themselves to the amazing vibrant colors of Copic so I just couldn’t wait to pull one right our of the mailing envelope and get coloring!
I knew before I began that I wanted to complete the image with a fabulous background as well. I could cut out the image and stick them to a separate back ground. I could try to work around the image carefully OR I could mask it. Have you ever used a post it or scratch paper to create a mask for your image? It is pretty easy, but I want to show you an even easier, more effective way to mask your image. You can use Mask It made by X-Press It. It is a clear film with light adhesive that you can lay over your image, trim away and then create your background over. Hard to describe so let me show you!
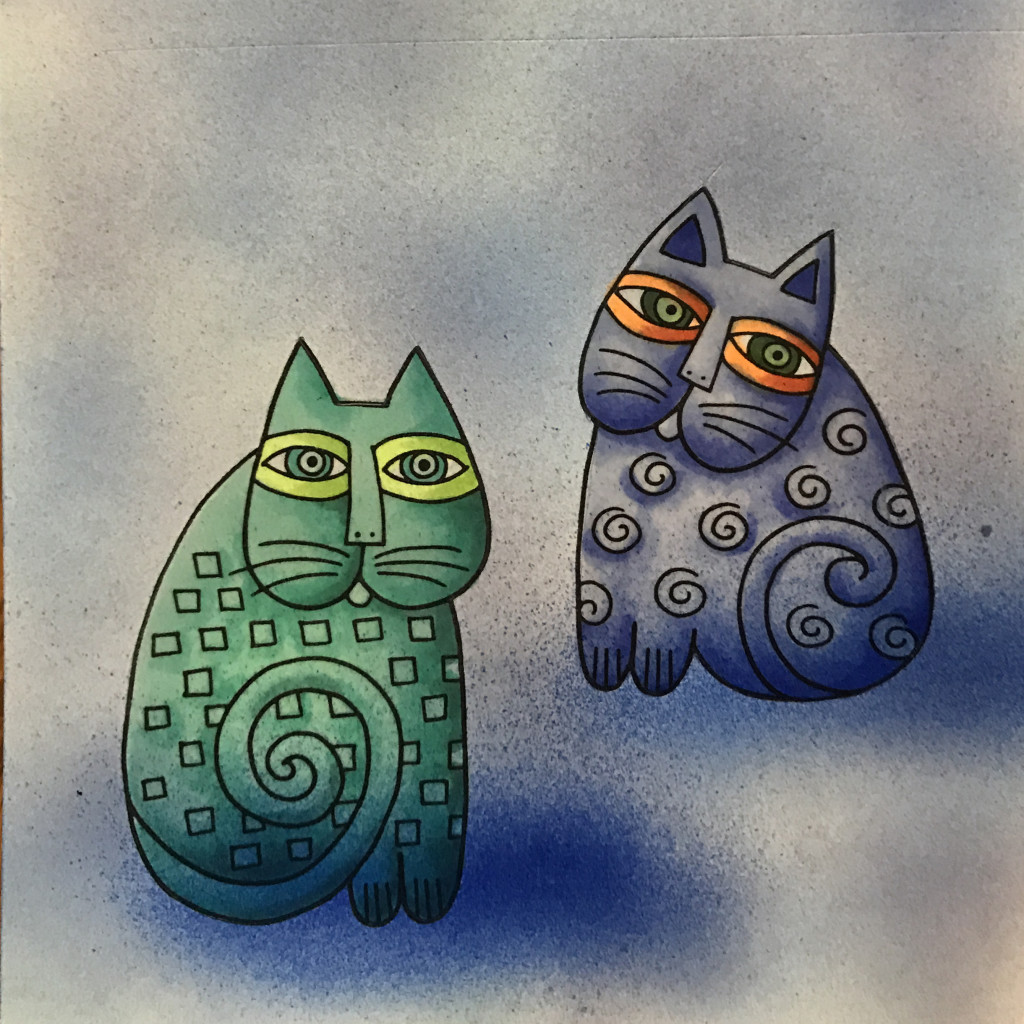
I colored my images first, I could just stamp and wait till the end to color, but like I said I was a little color happy when I got these stamps :-).
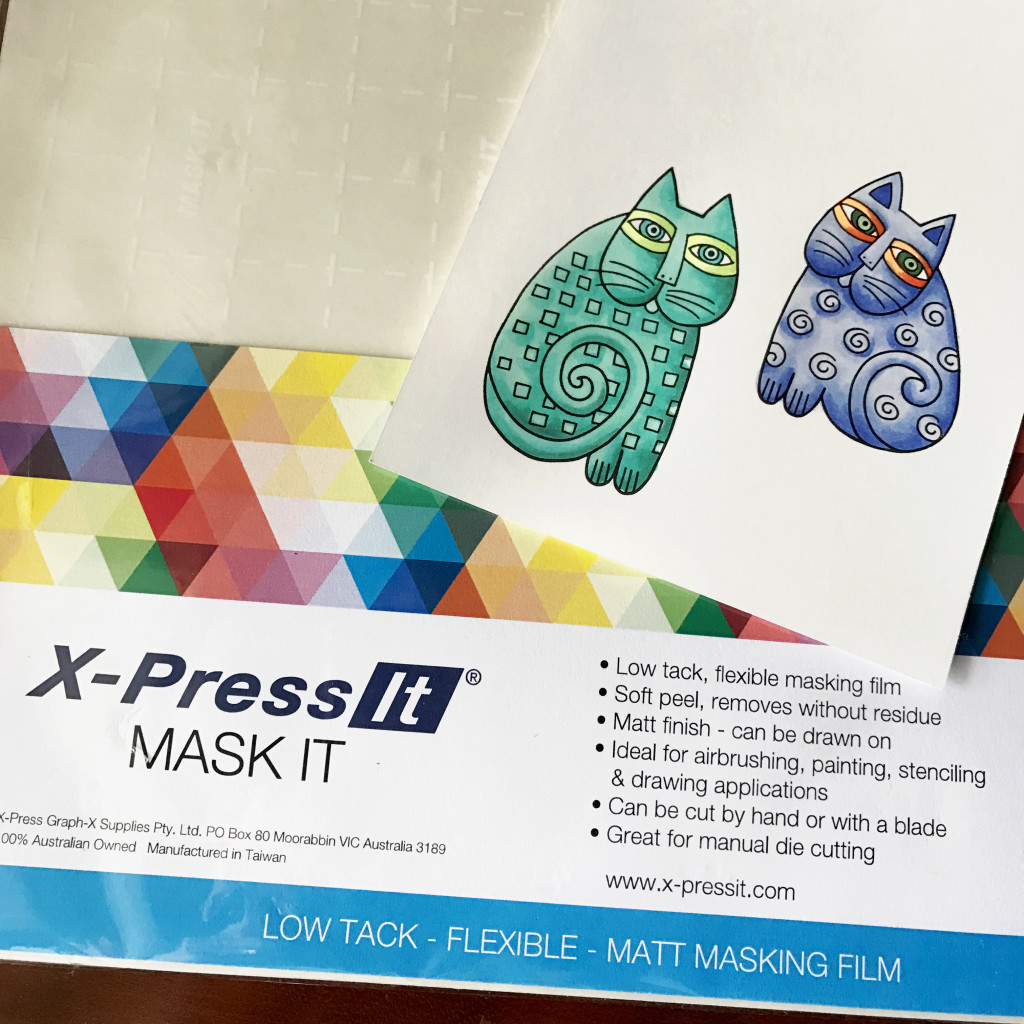
Again the stamp is by Stampendous and from the new Laurel Burch line, this one is called Indigo Cats.
Then I cut out a piece of Mask It that was large enough to cover the area I wanted to mask. I could have cut it to only cover the cats and save on usage but I was not sure yet what I was going to do so made my sheet as big as the paper.
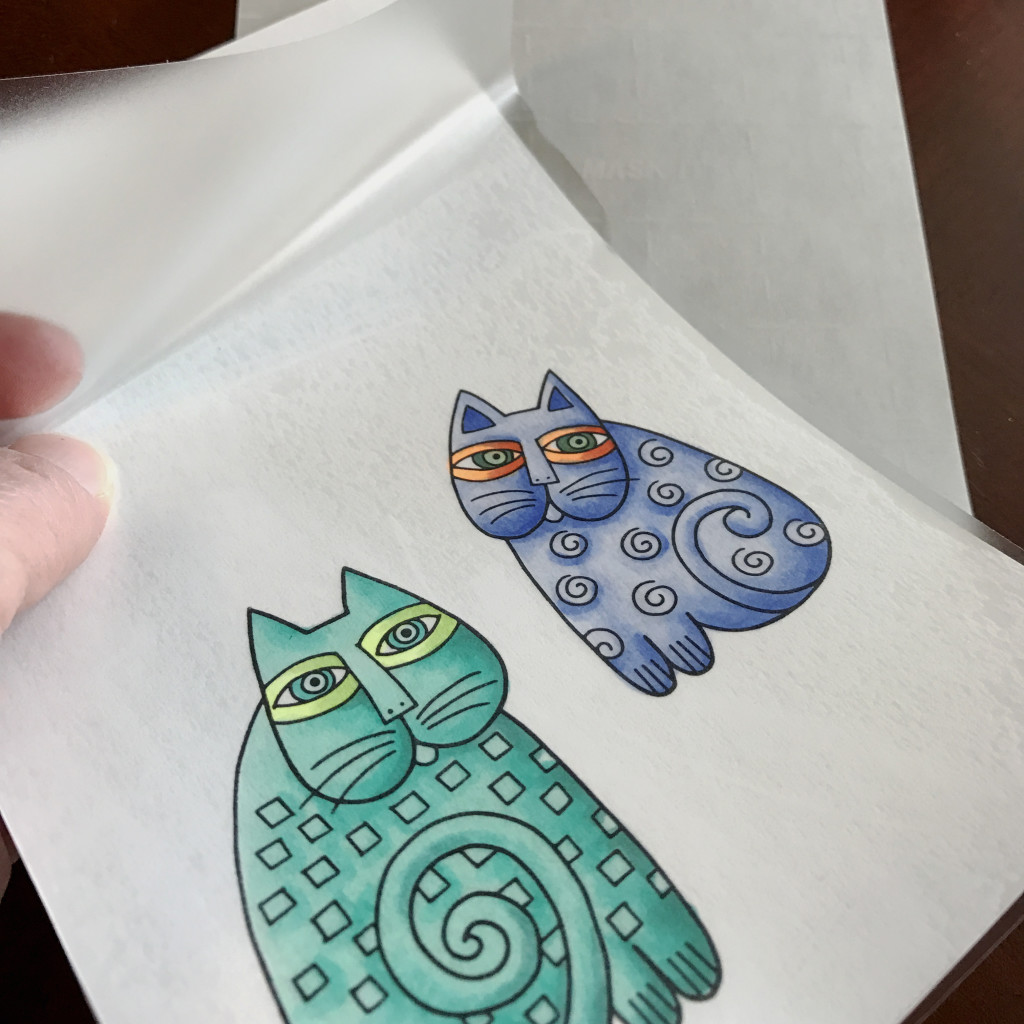
I peeled off the paper backing and carefully laid the clear adhesive sheet over my image.
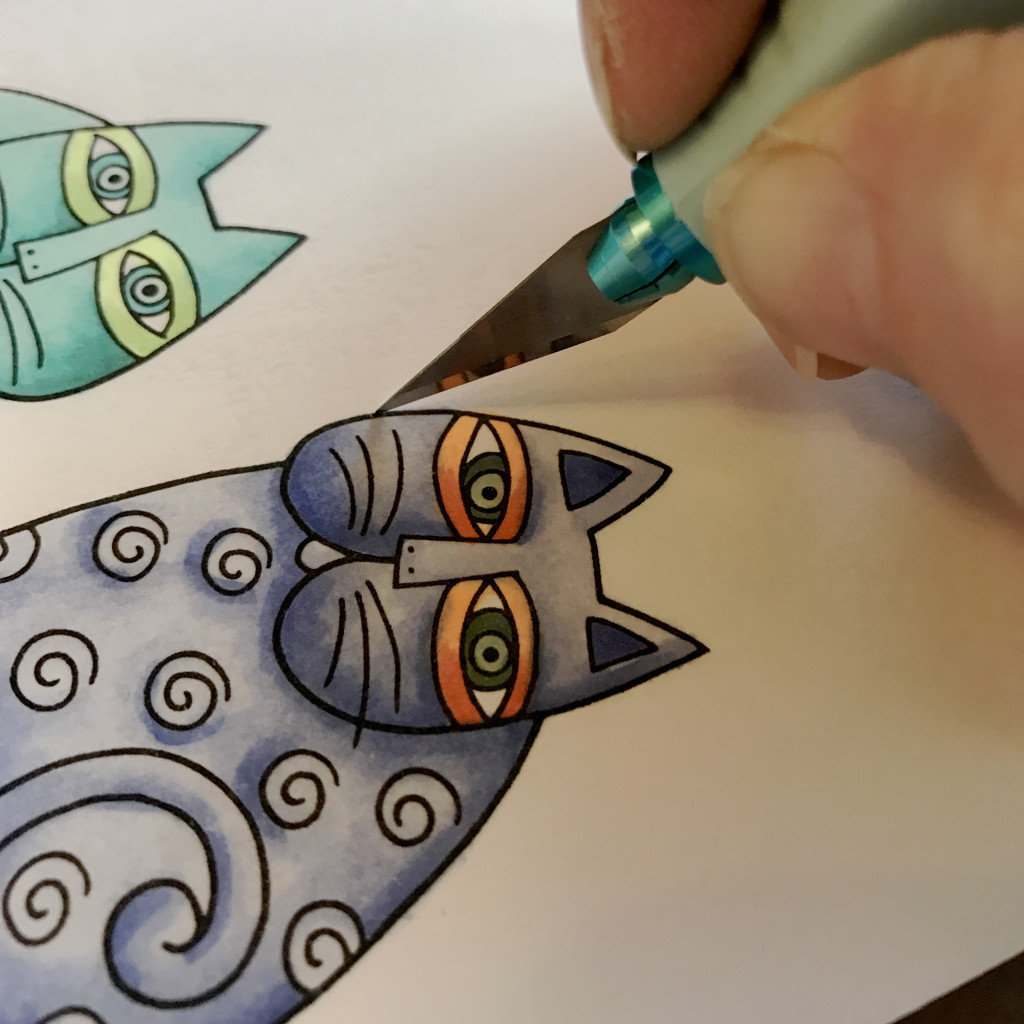
I decided I was going to air brush the entire background so really only needed the cats covered so I used a craft knife to go right over the black outline of the cats. You might need to experiment a little with pressure. You do not want to go through the paper, just the plastic mask.
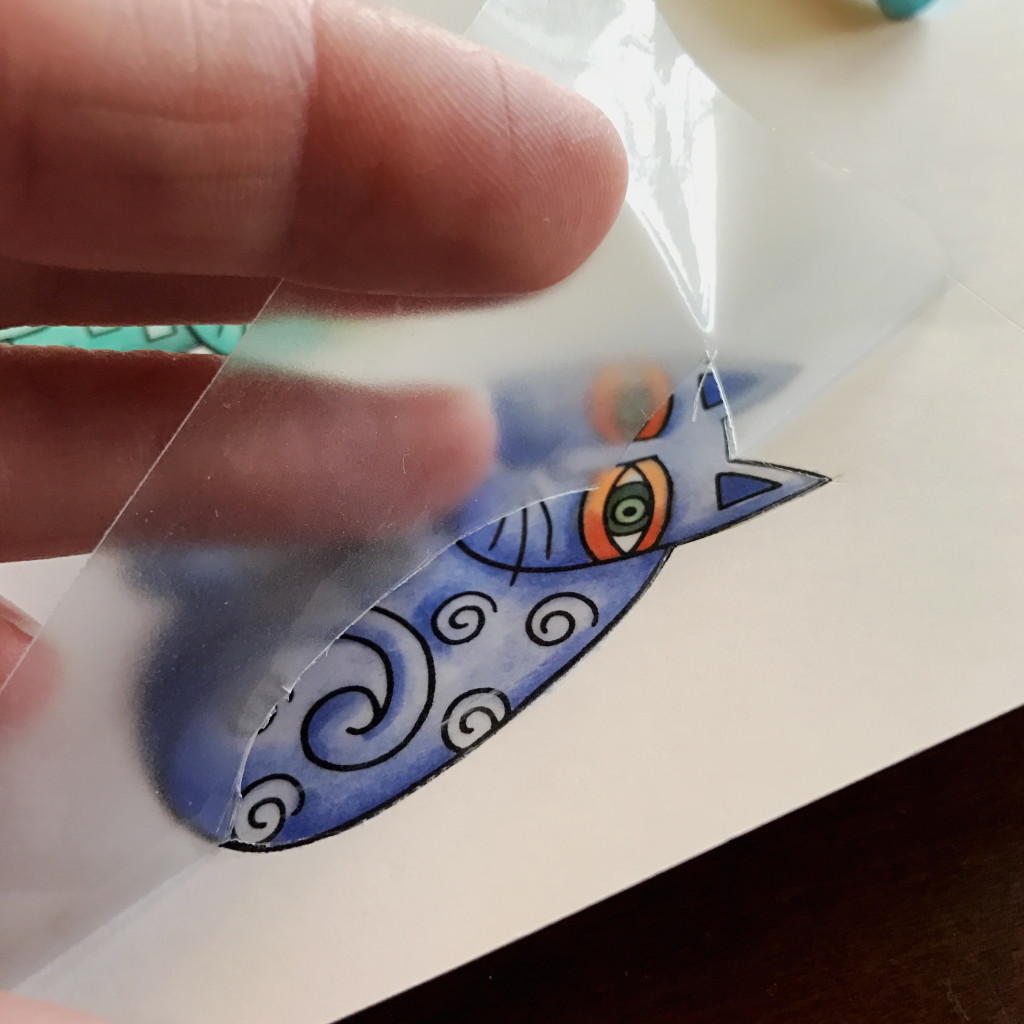
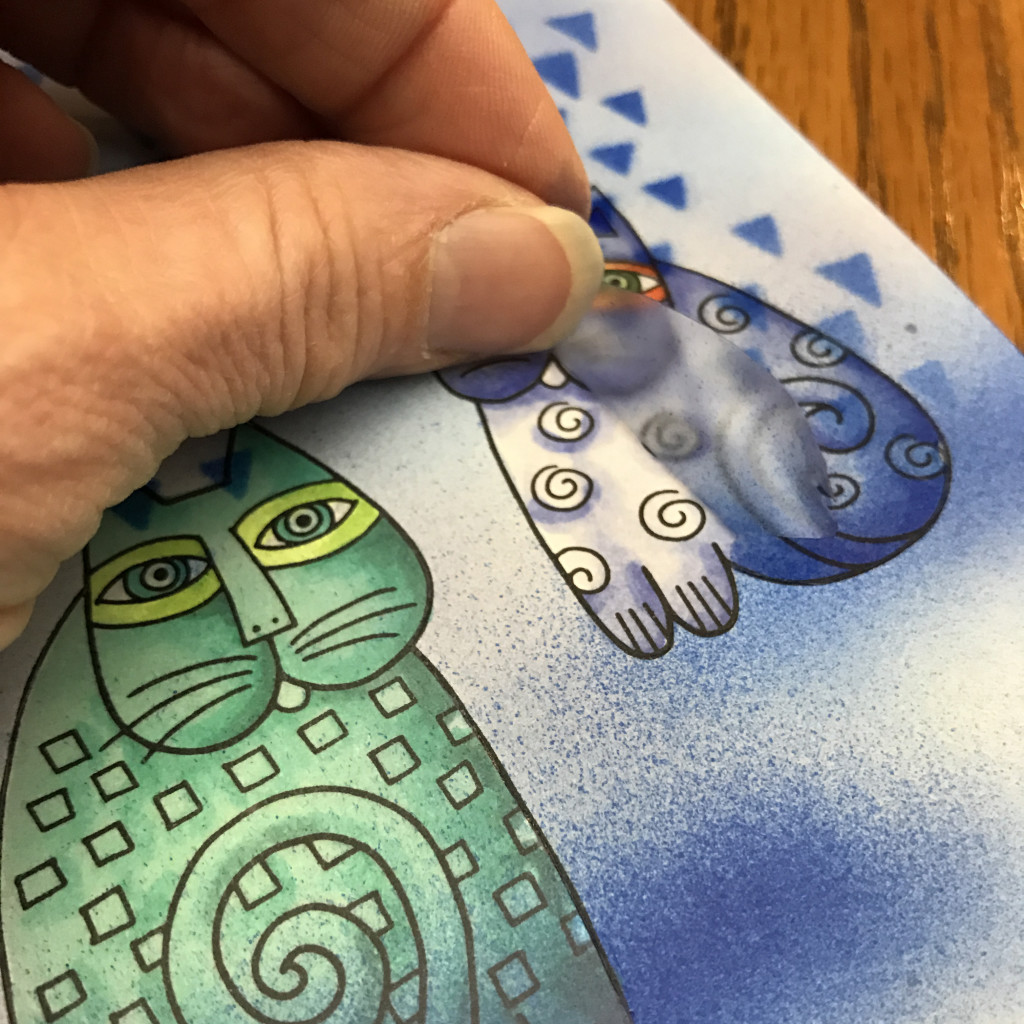
Then I peeled off the plastic where I will be airbrushing and left the cats covered so they will be protected from spray.
I used 3 different colors in my air brush to create a modeled background. Notice that some of the spray has gone over the cats.
Then I discovered that the stamp set came with a stencil! BONUS I added the fun graphic shapes with the air brush as well.
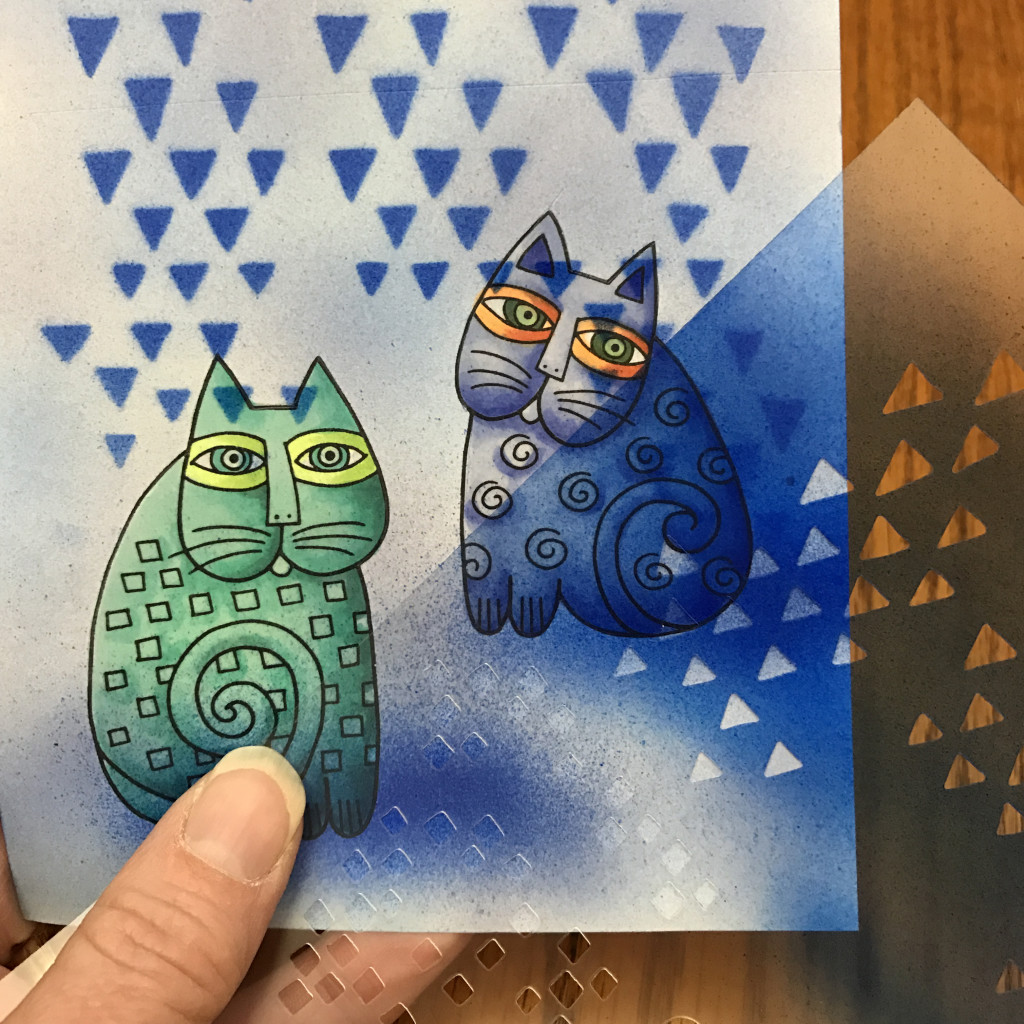
I peeled off the mask and the cats popped out all nice and clean from over spray. One of the HUGE advantages to a mask film is all the edges stay tight to the paper!
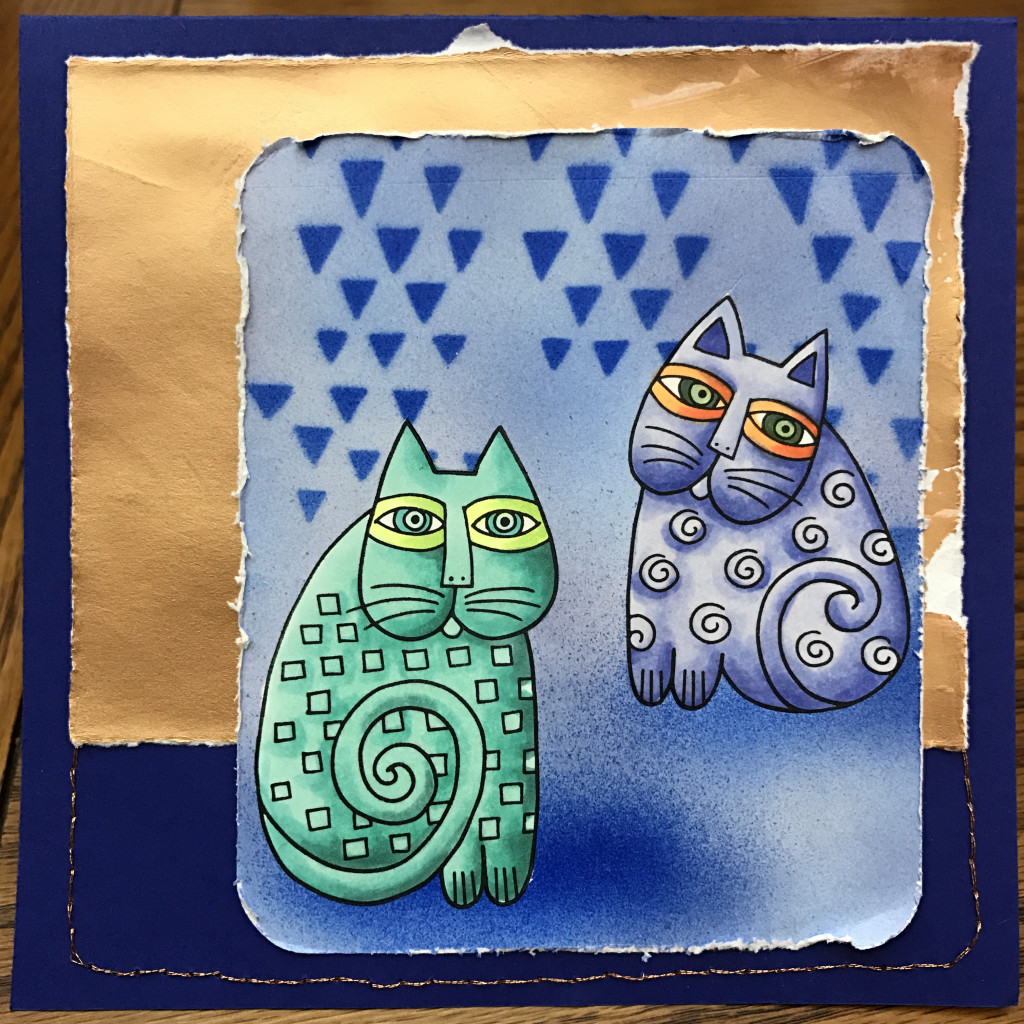
The card only needed a base and this gorgeous copper painted paper (thanks Tommy Art!)
If you are interested in trying this masking technique, check out all the details for the Mask It at Imagination International, Inc.
Have a Happy Colorful Week!


