Posted on

Hot Ribbon Hot Hot Hot!

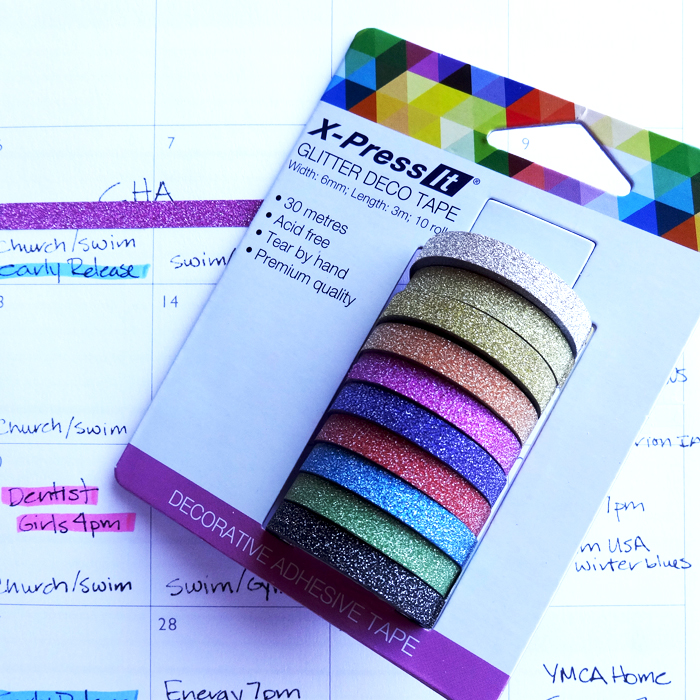
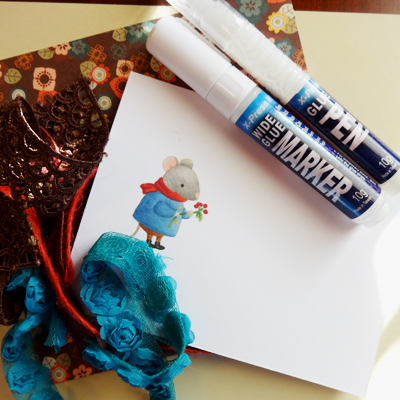
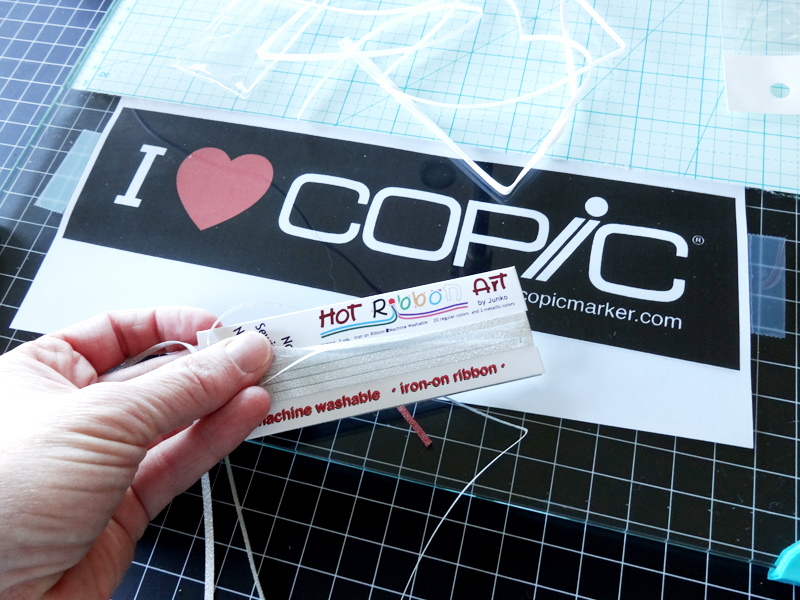
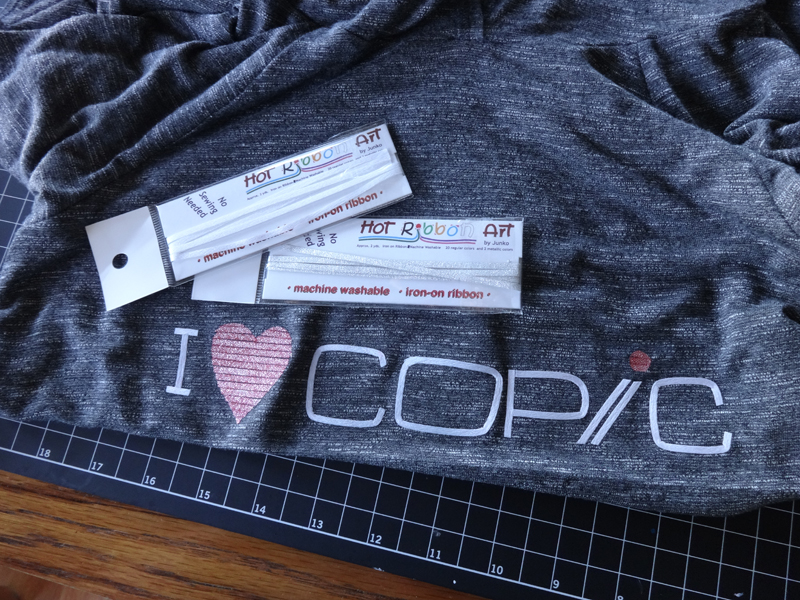
OK I was not totally sure what I was going to do to show you the new Hot Ribbon that Imagination International, Inc. is carrying. It is a very thin ribbon that has adhesive on the back that sets with heat.  III also sells a small clover iron that you can use to tack the ribbon in place on your project.  I really figured that I would iron it onto a card and call it good.  BUT then I asked the crew over at Copic In the Craft Room and they came up with AMAZING ideas and oh so creative so I back peddled quickly and decided I better get my rear in gear and”go for it”!

So instead of ironing the ribbon straight onto a card or a paper craft project (which you could do) I decided to try the glass transfer method and create my own t-shirt!

Here are the steps I took and some tips I learned along the way.

ribbon blog 1

First I attached the image I wanted to recreate on the back of a sheet of tempered glass. It needs to be tempered so it can withstand heat. I used a Copic sticker and blew it up 200%.

ribbon blog 2

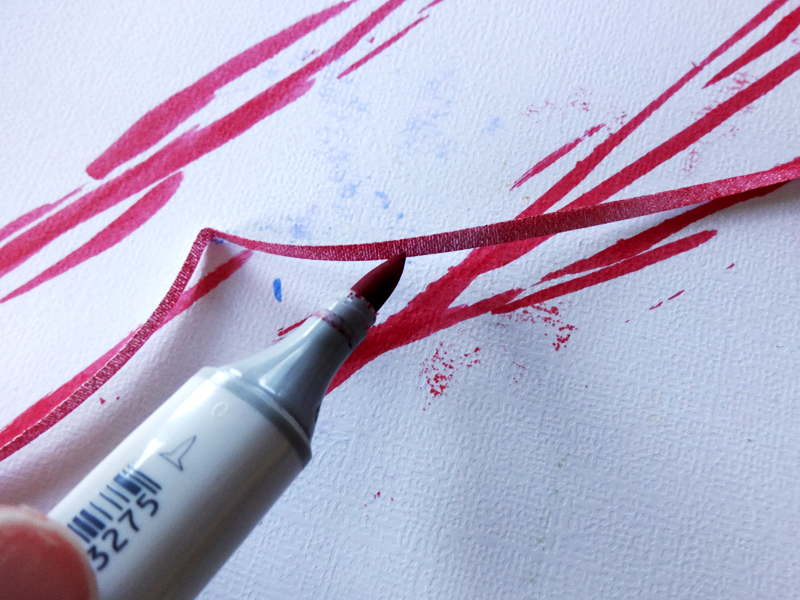
I colored some of my ribbon with Copic ink, this particular one is silver that I colored red with a R29.

(Sorry no photo!)

Then you tack the ribbon directly onto the sheet of glass with your craft iron. This does not adhere it permanently it just tacks it in place. Trim the edges as you go and get the ribbon lined up tightly. You can do a little wiggling here meaning lifting and re-tacking if you need to.

ribbon blog 3

Next using a metal palette knife or even a table knife lift each piece carefully of the glass and re-tack it onto it’s final surface. I lifted the heart in one large piece all together. I only had to go back for two small strips from the top hump on one side.

ribbon blog 4

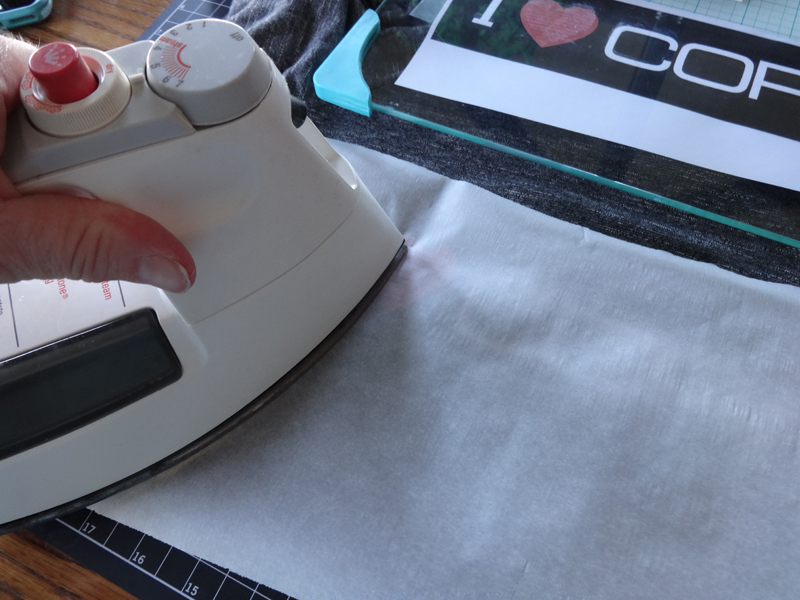
Lastly cove the entire piece with an iron safe material (I used parchment paper) and go over the area with a medium to high iron for about 45 seconds.

ribbon blog 5

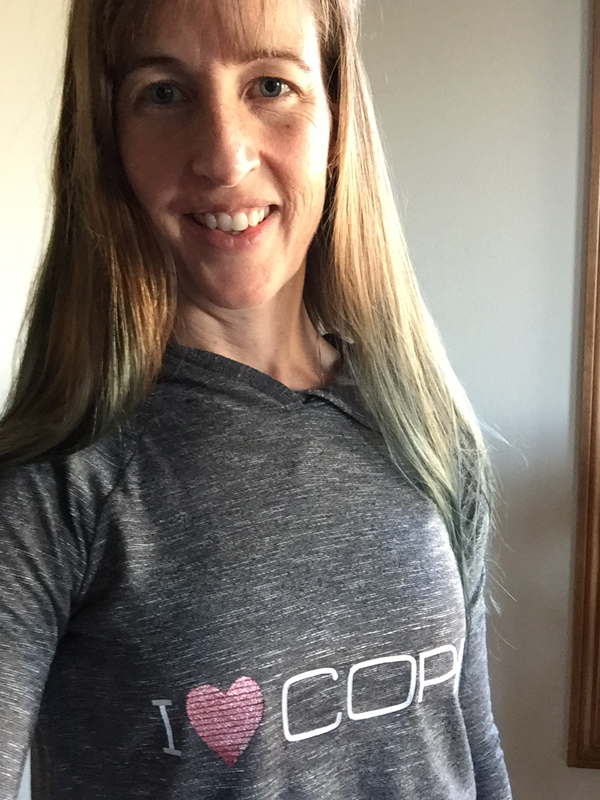
Wa-La a fun new one of a kind t-shirt or craft of your creating!

ribbon blog 6

Some things I learned along the way:

  •  The heart and small circle did great on the glass! I could line up the strips and they lifted perfectly onto my t-shirt.
  • The lettering however was extremely difficult to bend around and tack down. BUT when I went free hand on to the fabric it adhered perfectly. So as intimidating as freehand is it seems to stick better when you are trying to go around bends on the fabric.
  • I am not sure yet how long the Copic color will stay since it is not meant for washing so we will see, but the Hot Ribbon comes in tons of colors so you can choose colors that work if it is going to be wearable, washable art.

There is a lot of information on the Hot Ribbon at the III site as well so if this does not answer all your questions give a quick check HERE.

Have a Happy Colorful week!

Oh by the way, I will have a video tutorial of this project coming out in January! You can see it in action!


Posted on

All that glitters!

I have one more fun product from X-Press to share this week. Check out this fun glittery tape!

blog 1

I have been adding it to my 2016 planner as a fun glittery highlight for important events. (Here you see a BIG trip to CHA highlighted for lots of Copic fun!) The tape is acid free, so great for all sorts of crafting projects, can be cut or torn by hand, and comes in all these crazy fun colors! More details can be found at Imagination International, Inc. HERE

I added it to two of my recent cards that I created for Copic In The Craft Room as well. These cards will be featured in video tutorials in the month of December.

blog 2

blog 3

blog 4

blog 5

The rolls have plenty of tape to really enjoy and I know they will become a staple on my scrapbook pages, cards and especially in my planner to add a little bling with very little effort!

Don’t forget to check out all the classes that have opened up for Anaheim, CA in January 2016!

Have a Happy Colorful week!

Posted on

All New Coloring Flowers Class

For the 2016 Copic Coloring Schedule we are adding another brand new class.  We will still have the great workshops and certification classes that we have been running through the 2015 season. We know that there are a lot of you that are still wanting to take the Certifications and may have missed the Workshops as they came through this past year.

We are adding a new Coloring Flowers Class to the schedule. It will be available Friday evenings after Standard Certification classes. So you can stick around for more Copic Coloring or can come in for a stand alone evening class.

The class is based off the Coloring Flowers with Copic Markers book by Marianne Walker, but goes beyond the book. Join us for an in-depth coloring workshop and learn advanced skills that include adding depth with color, coloring sky, new color combinations and blends, and many more. Color right along with our instructor using brand new images created just for this class!

Copic-ColoringFlowersManuelArt-9-24-1521131 copy

Copic-ColoringFlowersManuelArt-9-24-1521087

Our first showing of this fabulous 3 hour workshop is coming up January 9th in Anaheim, CA! You can get all the details and get registered HERE.

Keep a look out for all the locations that this fun new class will be offered.

Have a Happy Colorful Weekend!


Posted on

Glue by X-Press

Another great product by a company that I already admire. X-Press has a series of glue pens out. The glue is good and the tips are fabulous. I love their options!

I have two of the pens now, the broad marker and the pen tip.

blog glue 1

After cutting all my papers and fussy cutting my mouse I am ready to assemble my card. I used the broad marker to adhere the papers. The glue is fast drying and the brand tip covers a larger area fast.

blog glue 2

I used the broad marker to also adhere the lace and the trim to my card. I was surprised how well the glue worked on the trims. Sometimes I have trouble adhering laces and fibers but this glue worked great.

Then I broke out the glue pen and got to work on my little mouse and all his details.

blog glue 3

The pen nib got all the little details like the tail, the sprig of holly and little boots wonderfully.

blog glue 4

All in all a fun new product in my drawer. I’ll have another product from express in a week so check back for another peek. (This one is way fun and SPARKLY so you will want to catch it!)

blog glue 5

To get more information on the X-Press glue markers, pens and other products check Imagination International, Inc.

Have a Happy Colorful Day!


Posted on

Monday Video and Copic CHA

Hope everyone is starting their week off right and are shooting through their Monday with ease. I posted my latest video at Copic In The Craft Room featuring this cute image from My Favorite Things.

He turned out pretty cute if I say so myself. I have continued experimenting with no-line coloring and this little guy is done in that style.

I also am pleased to announce that the schedule for CHA 2016 classes has been released! We will release the rest of the 2016 schedule in mid-December. YAY! I am ready to get it all under way!
Standard Certification Class Debbie Olson 1/6/16 
Intermediate Certification Class Debbie Olson 1/7/16 
Faces and Hair Workshop Lori Craig 1/8/16 
Vintage Values and Mono Tones Workshop Lori Craig 1/8/16 
Clothing & Accessories Workshop Lori Craig 1/9/16 
Copic Coloring Series Workshop: Coloring Flowers Michelle Houghton 1/9/16 

For details check in at Imagination International, Inc.